Products You May Like
Get full access to Outside Learn, our online education hub featuring in-depth fitness, nutrition, and adventure courses and more than 2,000 instructional videos when you sign up for Outside+
Sign up for Outside+ today.
Skin tracks seem like a piece of cake when you’re traversing across the hill, but then you get to the switchback, an intimidating-looking thing forcing you to do an about-face without being firmly rooted to your skis. That’s when you’ll need to employ the dreaded skin track kick-turn, one of the biggest obstacles in the mechanics of ski touring. It’s an awkward-looking maneuver that’s even more awkward to perform—and one that takes a lot of practice and patience to master. And just when you think you have it dialed, you end up splayed on your belly, sliding down the hill while your ski touring partners smirk.
That said, the kick-turn remains a necessary evil, as it makes life in the skin track so much more efficient than any alternative. If there’s one tip that will help you move more efficiently (and elegantly) in a skin track, it’s this: distribute your weight over your heels. If you place too much weight towards the front of your foot, you’re likely to lose traction and start sliding. So stand upright, lean back, and engage the tail of the ski in every step. Once you master weight distribution, the rest will follow.
“Kick-turns are one of the most difficult things to execute,” says Charlie MacArthur, professional ski instructor and uphilling expert. “Make sure you practice it on the flats before you do it on the steeps. It will save you a lot of energy,” he advises.
Get more touring tips from Charlie MacArthur ini SKI’s Uphill Skiing 101 course on Outside Learn
We’ll give you a few pointers here, but the best way to become familiar with the skills you’ll need in ski touring is to take a lesson or hire a guide if you’re headed into the backcountry.
How to Kick-Turn
Take an extra step
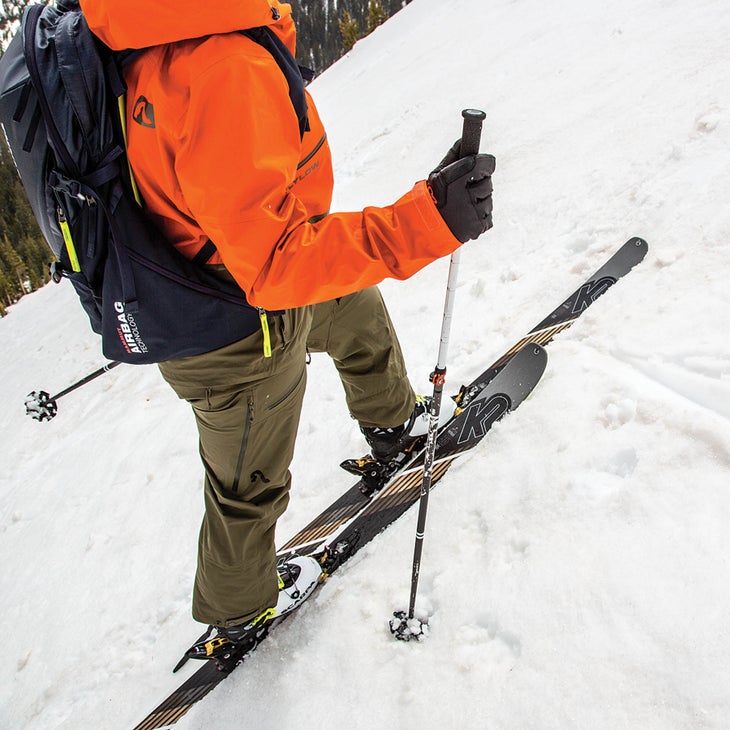
At the switchback, take one extra step uphill with your outside ski. To engage maximum traction before your next move, give that same ski a few hard stomps.
Pivot the inside ski
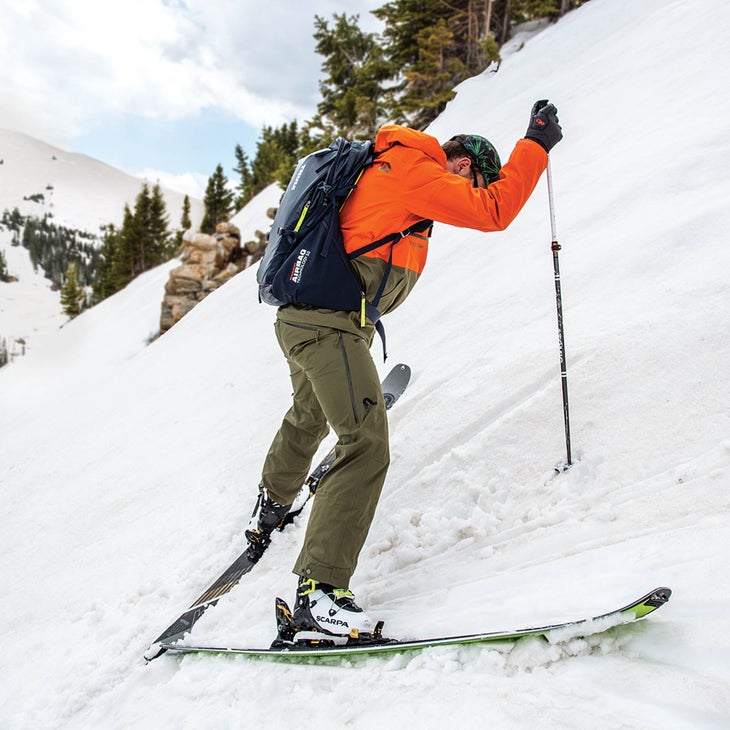
Weight your outside ski and step your inside ski into the opposing skin track. Your weight will naturally follow this ski since it will be down the hill relative to the outside ski.
Pro Tip: “Instead of pivoting from the tail, pivot from the middle of the ski,” advises MacArthur.
Anchor yourself
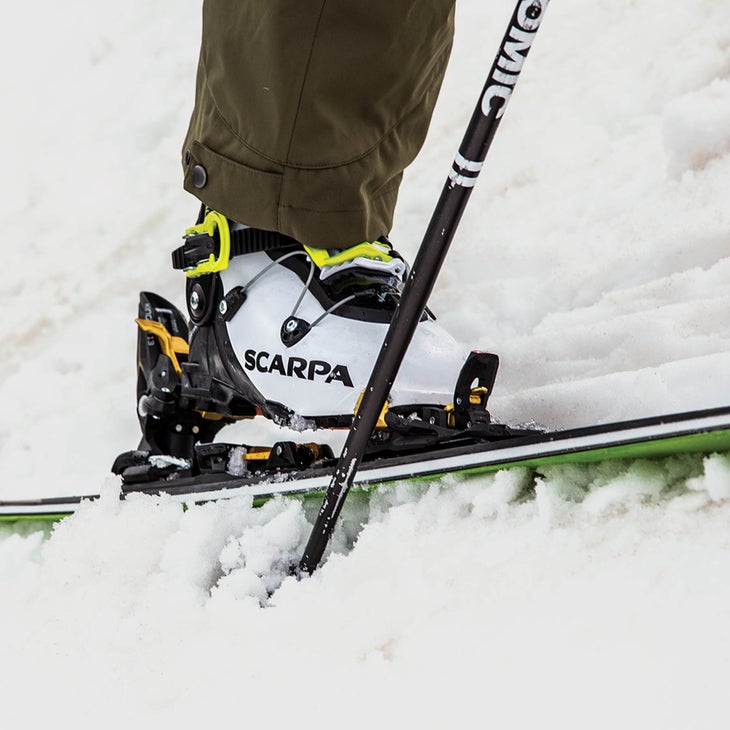
Kick the inside edge of your new downhill ski into the slope a few times to gain maximum purchase. Plant your pole against the outside edge to anchor yourself.
Shift your weight
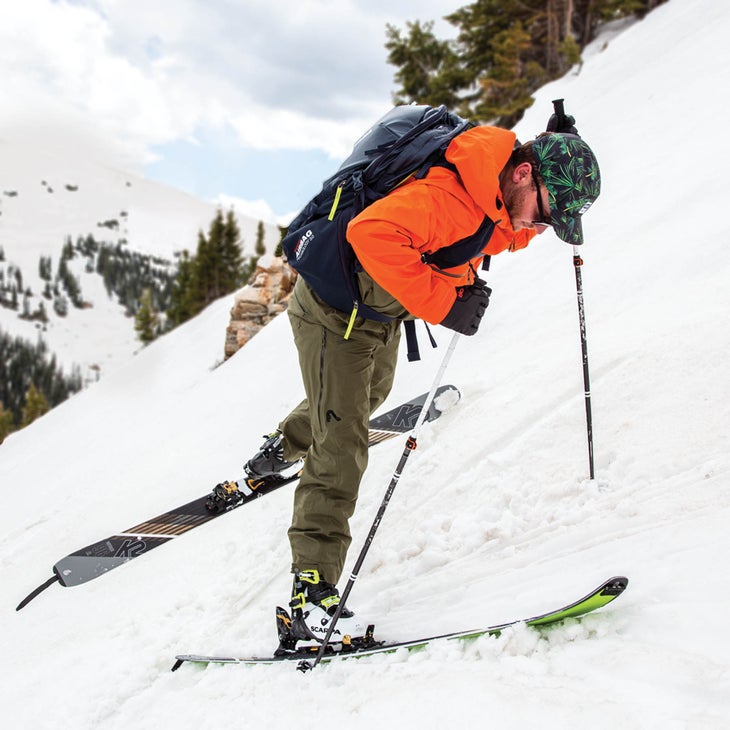
Transition your entire weight to the inside of your downhill foot. Use your poles for balance, but keep your weight over the ski in the skin track.
Kick back
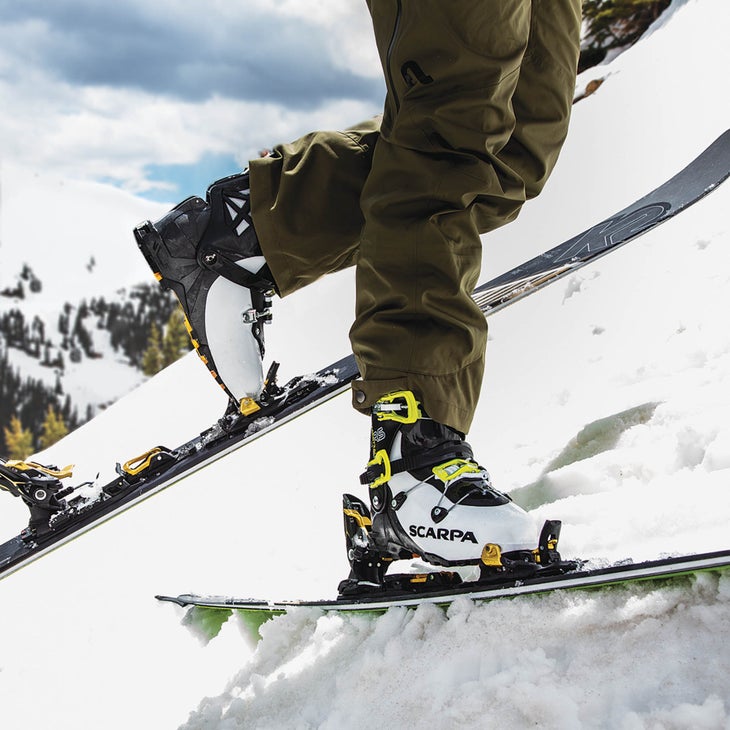
With your weight on the downhill ski, lift your uphill foot behind the heel of your downhill foot. The tail of your uphill ski will fall so the shovel can clear your uphill pole.
Pro Tip: “Kick your leg back to clear the tip of that ski to step it parallel to your other ski,” says MacArthur.
Forward march
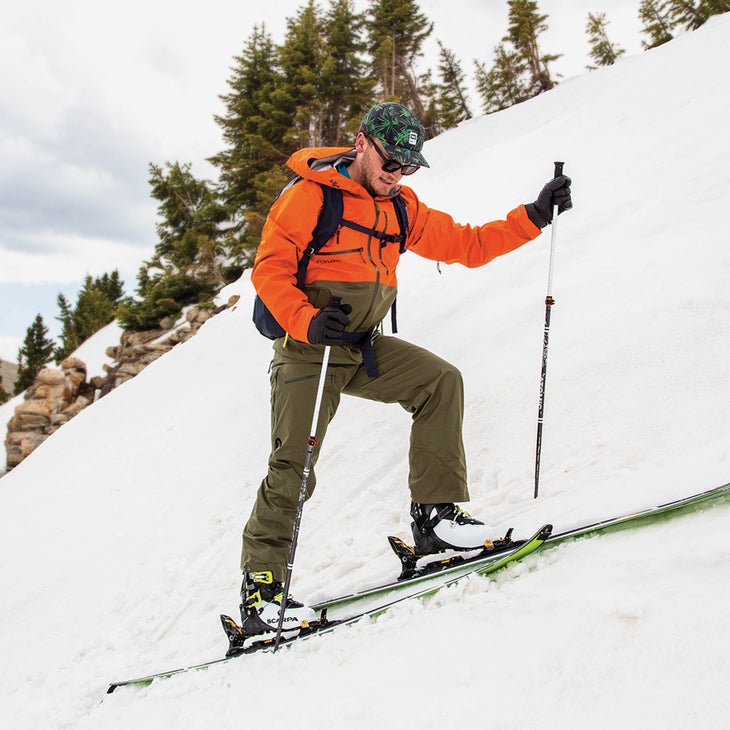
If your skis are now parallel to each other in the skin track, you’ve successfully completed your kick turn. Now take a few strides to make room for your partners behind you.
Looking for more ski touring tips? Check out SKI’s online education course Uphill Skiing 101 on Outside Learn, home to hundreds of video tutorials. Get expert tips on how to level up from industry pros like Glen Plake, Wendy Fischer, Daron Rahlves, and more.
