Products You May Like
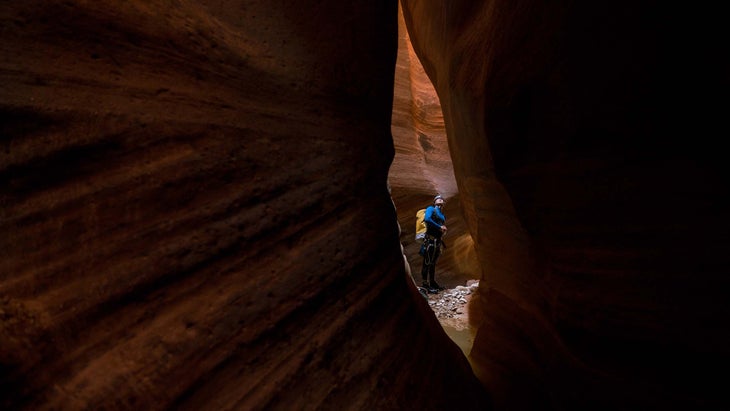
The labyrinthine world of desert canyons is a unique landscape carved by water and time. Canyoneering, the sport of exploring rocky gorges, pulls from a variety of other activities, from hiking and scrambling to technical rope skills and even swimming. But before you squeeze in, it’s important to understand how to stay safe, navigate, plan, and move with style and ease.
Read the Forecast
Slot canyons become extremely dangerous during a rainstorm. Small amounts of precipitation can cause deadly flash floods, even when the rain isn’t falling exactly where you are. Water runs into catchment basins—geographic areas where runoff flows to a singular outlet like a river—and funnels downstream into slot canyons, where it can wash hikers away.

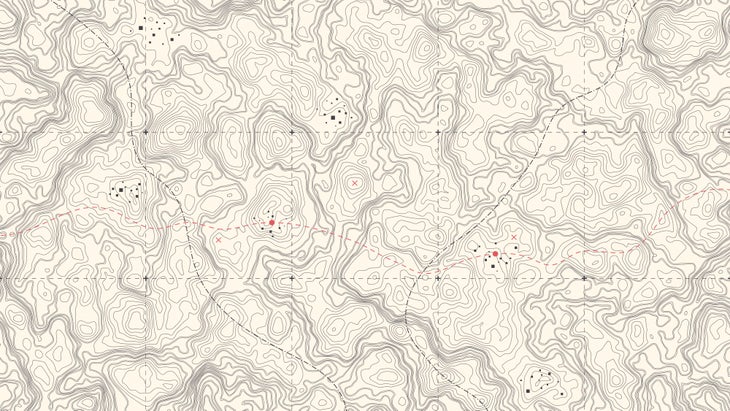
Use topographic maps when assessing the weather for a slot canyon.
Locate your canyon on the map, then look upstream (V-shape topo lines point downstream). Check the forecast for the canyon itself, at least 50 miles upstream, and a few spots in between leading up to and on the day of your adventure. Stay out of the canyon if there is even a slight chance of rain within half a day before or after—and of course during—your trip.
Read the Weather for Canyoneering
Take a wide view while examining the weather. Some canyons, like Utah’s Buckskin Gulch (the longest-known continually-narrow slot canyon) have catchment basins that are over 50 miles away. Every year, search and rescue teams get calls from stranded hikers in this beginner canyon. Many people only look at the weather in the canyon itself and fail to zoom out enough to check the entire catchment basin. If you don’t know where to check, try looking in a guide book or consulting an expert (like a local guiding company) for info on weather conditions. Alternatively, you can seek out canyoneering training from certified guides to learn how to expertly analyze weather.
How to Navigate in a Slot Canyon

For beginner canyoneers, stick to easy terrain no greater than class 2 (see rating system below) on well-trafficked routes. Before you go, read up on route descriptions and commitment time, and note any special gear requirements or points of no return (when you’ll descend something you can’t get back up). Use guidebooks and the internet to find destination-specific info. To level up to technical terrain, consider taking a course on canyoneering, anchors, and rappelling from a certified guide.
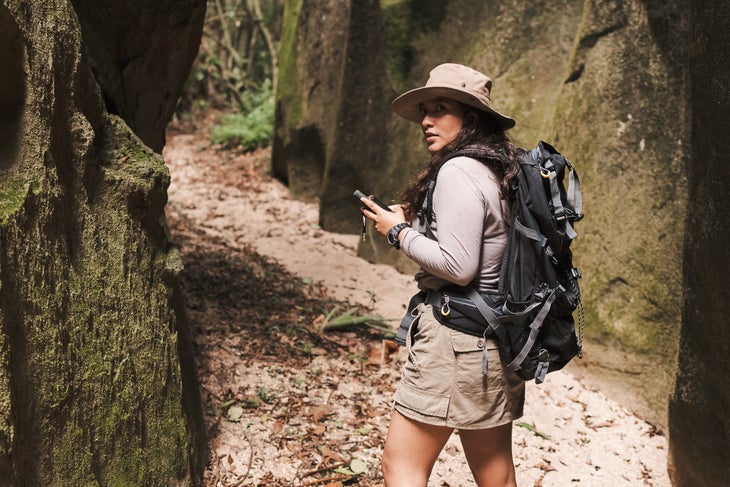
Most slot canyon routes are completed from the top down (from higher elevation to lower), or they come in pairs and are done in a loop. This almost always requires cross-country desert navigation. Routes often don’t have trails, so keep a GPS handy for any out-of-canyon hiking. GPS devices won’t work in canyons, since the steep walls obstruct signals, so bring a map, too.
Hone Your Canyoneering Technique
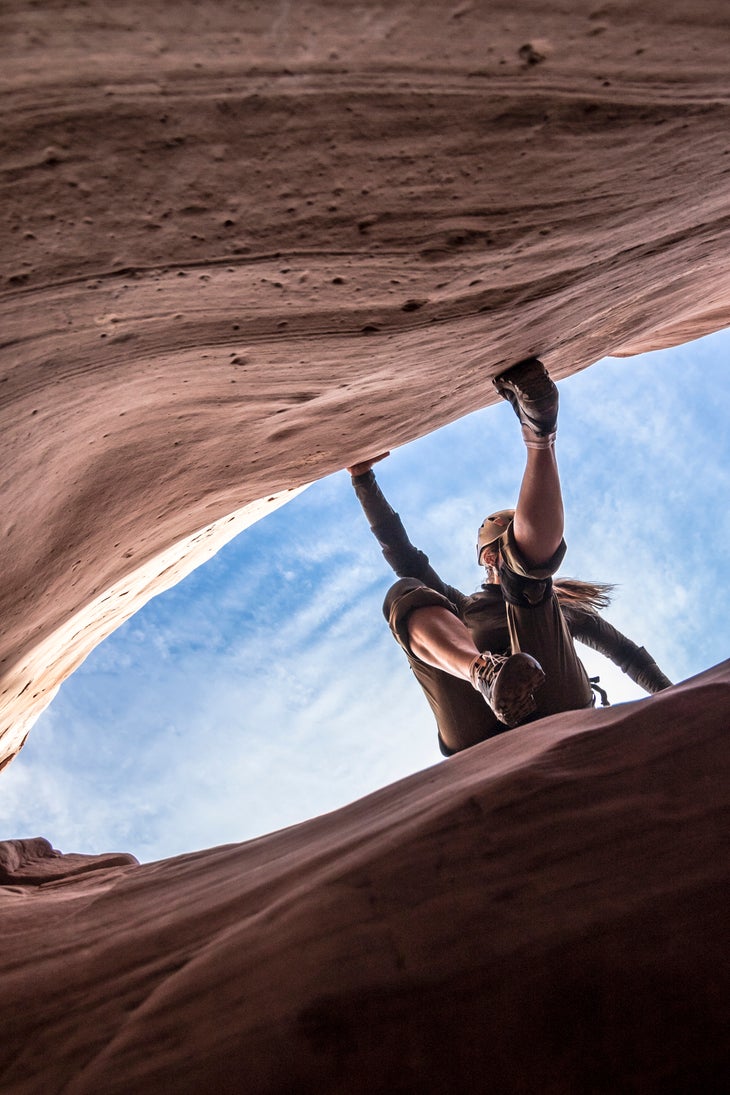
Know the moves to make the most of squeezes, slots, and walls.

Chimneying
Push your feet against one side of the canyon, and your butt and arms against the other. Walk your limbs and scooch your bottom to wiggle upwards or downwards. Use this technique to avoid water in the canyon bottom or to navigate above sections that are too narrow to walk through.
Stemming
Put your feet on opposite canyon walls. Push outwards, using your arms to balance, and using friction to stay secure, then simply walk while straddling the canyon walls. Stem to head upwards or forwards in narrower canyons where your legs can comfortably brace against both sides, but walking is not an option.
Bridging
Make a bridge with your body by pushing with your hands on one canyon wall and walking with your feet on the other side. Shuffle your hands and feet, keeping a bend at your hips to help relieve stress on your back. Use this technique to move across a water obstacle that’s too wide to stem, but narrow enough to span with your arms and legs.
Leave Only Footprints
The desert environment is a sensitive landscape that’s rich with history. Stick to established trails and durable surfaces to avoid disrupting the environment.
Don’t bust the crust
Raised, black, bumpy ground, called cryptobiotic soil, is made of living organisms. Its primary importance is to prevent erosion and it takes decades to regrow if damaged. If you see dark lumps on the ground, step around them, even if it’s inconvenient.
Toilet Time
Human waste takes ages to break down in the arid desert. Instead of burying it, always carry a waste disposal bag for emergencies, pack out your toilet paper, and use established toilets at trailheads before you enter the canyon.
Leave Artifacts Alone
The desert is chock-full of relics from Native civilizations of the past. Respect these bits of history: Don’t draw, write, carve, or use mud to make your own art in canyons. Never touch or deface petroglyphs and rock art. Found a potsherd? Leave it where it is.
Know the Ethics
Some canyons are considered “ghost canyons,” meaning you can’t leave any webbing, bolts, or gear behind. Protect all sandstone surfaces with proper gear—even ropes can form grooves that forever alter the rock.

How to Read Canyon Difficulty Ratings
Canyon grades describe routes varying from casual hikes to full-blown epics that require technical gear. Early exits are rarely an option once you dive in, especially on routes that require ropes. Only explore canyons you are confident match your skill level.
Technical Class
Class 1 Canyon hiking on rocky or sandy terrain, no ropes required.*
Class 2 Basic scrambling, for which you’ll have to use your hands. Easy downclimbing required.
Class 3 Intermediate canyoneering skills and ropes required. Necessary skills include rappels (descending ropes with a harness and belay device), anchor building, climbing, and down-climbing where a fall could result in injury.
Class 4 Advanced canyoneering skills are necessary and risk is high. Only experts should attempt these canyons, as there are often obstacles that, if managed incorrectly, will trap you in the canyon with no escape. Think deep pools of water, smooth and steep canyon walls, and extremely tight squeezes.
*Expect to keep a near-normal hiking pace through class 1, and budget for one mile per hour through class 2 terrain. As you go up in class, the going gets slower and depends on your efficiency with rope systems.
Water Rating
A Normally dry, with a potential for up to waist-deep wading in still water. Best for beginners.
B Standing water with no current or water with a gentle current. Swimming required. Wetsuits or dry suits and specialized canyoneering gear is required.
C Strong, flowing current and waterfalls. Specialized gear, ropes, and experience needed.
Time
I A couple of hours
II Half-day
III Most of the day
IV A long day that usually requires a headlamp. Always pack an emergency bivvy.
V More than a day
VI More than two days
Additional Risk Factors
No rating Normal risk factors such as slips, trips, falls, and loose rock
PG Some risk of an injury-causing fall or getting stuck
R One or more extraordinary risk factors that could cause stranding such as keeper potholes (large, smooth-walled pools that “keep” you inside with no way to climb out), descents with no possible re-ascent, and risky climbing with limited protection.
Quality of Canyon
Quality ratings, measured out of five stars, indicate how enjoyable the route is according to people who have completed it. This subjective rating can be found in guidebooks and online.
5 Perfect Slot Canyons for Beginners

These spots are perfect for aspiring canyoneers. By Ian Bagley and Katie Campisi
Non-Technical
Willis Creek, Grand Staircase-Escalante National Monument, UT
This 4-mile (round-trip) hike follows a shallow watercourse beneath sandstone walls that rise up to 300 feet. Time: 4 hours
Technical
Easy: Keyhole Canyon, Zion National Park, UT
Combine downclimbing, swimming, and four rappels up to 30 feet (two rappels are on fixed anchors) in this slot in the heart of canyon country. Go in late summer when water is warmest. Time: 1-2 hours
Intermediate: Oak Creek Canyon, Ouray, CO
A handful of 80-foot rappels in the middle canyon give way to a free, 170-foot drop beneath a waterfall in the lower. Time: 5-8 hours
Advanced: Heaps Canyon, Zion National Park, UT
A series of narrows and rappels that end in swims lead to the finale: a 280-foot, free-hanging descent to the edge of Upper Emerald Pool. Caution: Low water levels can result in keeper potholes. Time: 12-20 hours
Expert: 12 Gauge Canyon, Oahu, HI
The tallest of 15 drops is 400 feet down slick stone under a waterfall. The gnarly first descent wasn’t completed until 2013. Time: 15 hours
