Products You May Like
Receive $50 off an eligible $100 purchase at the Outside Shop, where you’ll find gear for all your adventures outdoors.
Sign up for Outside+ today.
When I was a little girl just learning to ski in Colorado, I spent a lot of time looking out into the rolling hills and mountains near my home, thinking about what it would be like to explore them. When I drove up to camping spots, resort days, or hunting and fishing excursions with my family, I’d be glued to the window. For a long time that was the only way I saw the backcountry: through glass.
I never considered ski touring as a serious possibility until I attended college. There, I met kids who had access to the backcountry growing up, and through their shared knowledge and joy, I became immersed in the world beyond the ski resort. The first step was believing that I could go for it and finding friends and mentors who were willing to share and give me a safe space to learn.
How to Know You’re Ready for Backcountry Skiing
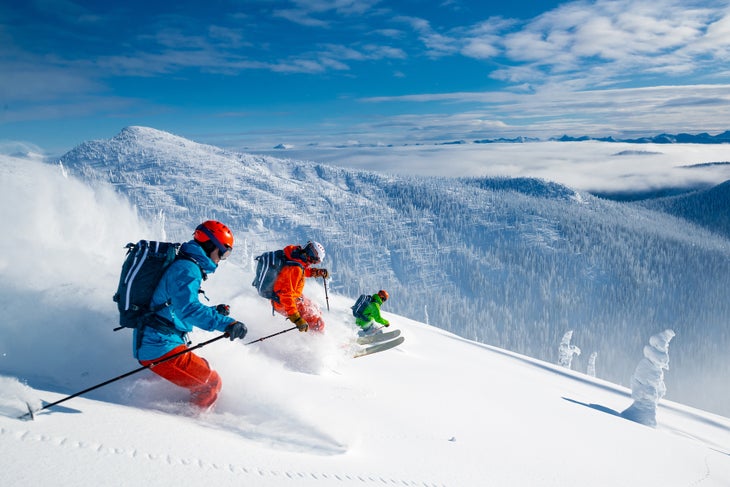
Backcountry skiing requires a whole new set of skills compared to skiing in the resort. First off, there are no groomers: Variable snow conditions can make the skiing itself more challenging than you’re used to. Sun crusts, tight trees, and powder all add to the difficulty. Make sure you’re confident in your downhill skiing abilities before hitting the skintrack, and get ready to be humbled. A good rule of thumb is to ensure that you’re comfortable skiing every run in the resort—including the ungroomed ones—before venturing into the backcountry.
Backcountry skiing also offers a whole new set of risks in the form of avalanches and remoteness. If you get hurt, ski patrol won’t be able to come to your rescue. Backcountry skiing requires as much planning and risk management as a remote backpacking trip—plus the added considerations of snow conditions and terrain. You have to educate yourself, think critically, and make decisions with safety in mind. If you’re not ready to take these risks seriously, stick to the resort.
Building Your Backcountry Kit
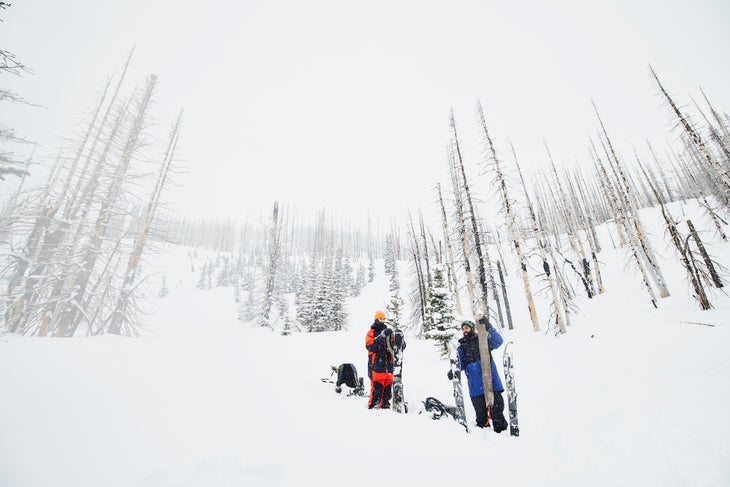
I won’t lie and say it’s cheap or easy to acquire backcountry skiing gear, but you can still find a setup that works for both resort and backcountry. There’s a lot of privilege wrapped up in getting access to this gear; searching for package deals and discounts can also help bring the cost down. If you’re still unsure about your ability to afford it, a good place to begin is with backcountry scholarships that exist all over the U.S. Coalition Snow and On The Land offer an Indigenous Backcountry scholarship that helps to get Indigenous, non-binary, and women skiers out on their first tours. It’s not perfect, but it’s a start to more equal access on the slopes.
How to Choose Touring Skis
I ski with tech bindings and medium-weight backcountry-specific skis. If you’re used to a resort setup, you might not want to buy the lightest backcountry touring skis: Some weight will feel more familiar when making turns. As you get more used to the gear, you may choose to shave more weight from your setup. You might also consider picking shorter skis than you’d ride in the resort; they’re lighter and easier to maneuver in variable backcountry conditions.
How to Choose Bindings
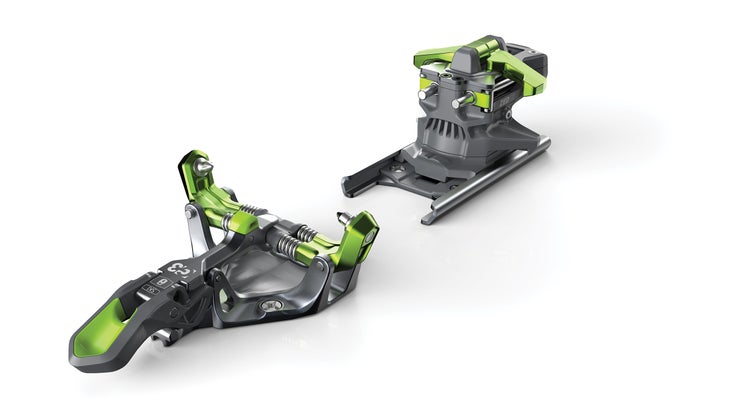
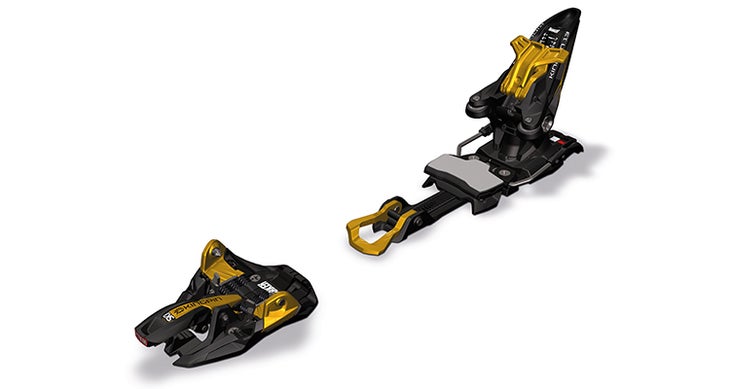
Backcountry tourers have a few options when it comes to bindings: tech, frame, and hybrids. (There are also tele bindings, but we’ll leave that for another article.) Here’s how to know which one is best for you. Before you make any purchases, make sure your bindings are compatible with your boots, and vice versa.
Tech Bindings
These bindings, which have separate toe and heel pins that connect to tech inserts in your boots, are what most backcountry skiers opt for. When you’re ascending the slope, lock your boot into place with just the toe pin, and your foot can naturally raise and lower with each stride. When you’re ready to go downhill, add the heel pin to lock the whole foot into place. There might be a bit of a learning curve for beginners, but these bindings are the best option for weight-conscious backcountry skiers.

Frame Bindings
Similar to traditional bindings with toe and heel pieces connected by a rail on the frame, these bindings are a bit beefier than other alternatives on the market. While moving uphill, the entire binding lifts with your foot, and while moving downhill, it locks into the frame. If your goal is to ski fast and hard on the downhills, these bindings help. But downhill speed comes at a price: They’re a little heavier and less ideal for longer trips.
Hybrid Bindings
These bindings combine the best of the two previous options. They offer the downhill benefits of frame bindings while still maintaining the lightness and flexibility of tech bindings, usually by matching a tech-style toe and an alpine heel. Skiers who split their time between resorts and the backcountry have favored hybrid bindings throughout the past few years, too.
Touring Boots
The next thing to get is a pair of good, well-fitting, touring boots. You’ll be spending a lot of time in these things, so if you’re looking for a place to spend your hard-earned money, this is a good pick. Touring boots differ from downhill boots in a few ways: First, they’re lighter, so you can hike uphill easier, and have a more flexible walk mode than boots designed for inbounds use. Some boots have the ability to clip into both alpine touring (AT) bindings and downhill bindings, which is a great option if you already have resort skis and only want to invest in one pair of boots.
Climbing Skins
Skis are slippery, and without this piece of equipment, you won’t be able to ascend hills. Skins stick to the bases of your skis to give you traction when walking uphill. They’re usually made of nylon, mohair, or a blend, and have a texture that resembles thousands of tiny directional hairs. When you weight your ski, the hairs grip the snow and provide enough friction that prevents you from sliding backward. When you step forward, the skins glide, allowing you to walk with ease.
Skins should be cut to match the length and width of your touring skis. Properly cut skins are narrower than your ski, leaving your metal edges exposed. Most skins come with a cutting tool so you can customize them yourself.
Layering
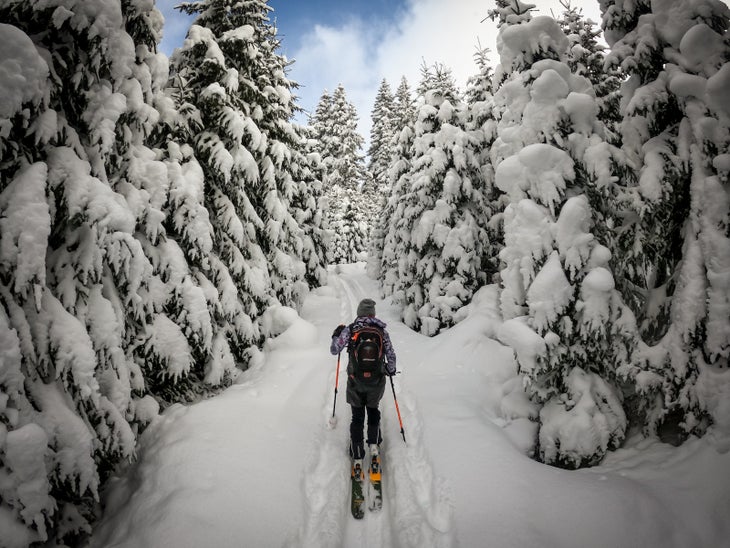
You generate a lot of body heat climbing mountains. Excessive sweat can be dangerous when you transition to downhill and it begins to evaporate. Layers are the answer: I tour uphill with wool leggings, thin wool ski socks, and a thin wool thermal top underneath waterproof bibs with no insulation, a waterproof shell, thin gloves, a baseball cap, and sunglasses. On my back, I carry a puffy coat, vest or lightweight jacket, beanie, helmet, goggles, heavier mittens, and buff or fleece neck warmer for the downhill.
Your layering system will be unique to your preferences, so pack multiple layers on your first tour and experiment to find what works for you. You’ll likely find that while some of the apparel you wear in the resort also works in the backcountry, some touring-specific layers come in handy. Insulated snow pants that keep you toasty on the chairlift will be too hot for skiing uphill; opt for shell pants or bibs instead. It’s a good idea to carry backup layers so you have something dry to change into if you sweat. Always carry extra insulating layers for the descent, a waterproof shell, and extra hat and gloves.
Additional Gear
Although a large daypack or backpacking pack will do, a specialized touring backpack comes in handy to organize all of your gear. Choose a pack with a compartment to keep your avalanche gear accessible. It should be big enough to hold your water, snacks, and extra layers.
The ski poles you use in the resort will work fine in the backcountry. Some skiers prefer to use adjustable poles for touring—shorten them on steep uphills, then lengthen them for descents.
Avalanche Safety Gear
This is the most important part of your backcountry kit. No matter where you ski, carrying the following and knowing how to use it can help you avoid fatal consequences of travel in avalanche terrain.
Beacon
This crucial piece of gear, also called a transceiver, can save your life if you’re ever caught in or buried by an avalanche. Beacons send off a signal alerting other devices to your whereabouts (it should always be worn on your body, between your midlayer and shell). In the event that your ski partner is buried, you can switch your beacon to “search” mode and track their signal and dig them out with your shovel and probe.
Shovel
If any of your ski companions become buried in an avalanche, you’ll use your shovel to free them. Shovels made for backcountry skiing are lightweight and compact enough to carry in your backpack. They often come with collapsible handles and removable blades.
Probe
This is another crucial tool for locating a buried avalanche victim. Probes help you “look” beneath the surface of the snow. An avalanche education course will teach you to use your beacon, shovel, and probe properly.
Avalanche Education
Before venturing into the backcountry, it’s imperative that you understand the risks of traveling in avalanche terrain and how to keep yourself safe. Avalanche safety courses are the best way to acquire this knowledge and practice your skills in real-life settings with an instructor. You can search online to find courses near you. The American Institute for Avalanche Research and Education (AIARE) is the most reputable resource.
Avalanche courses are expensive, but of everything you will buy, it’s the most important. Lots of organizations and rad individuals have begun to create scholarships for avalanche courses.
Finding Backcountry Skiing Partners
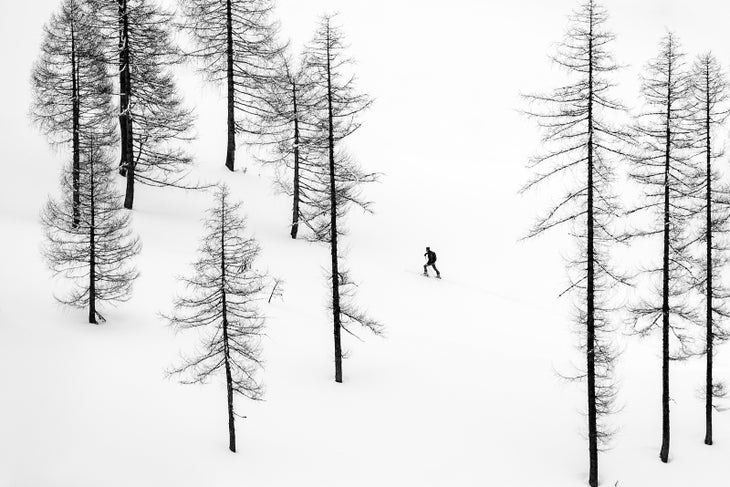
Finding the right touring partner is just as important as finding the right boots. Be picky about your backcountry partners—it’s completely different from choosing the friends you can rip in the resort with. Going out of bounds comes with its own set of risks, and picking a partner with a similar tolerance for them will decrease friction and help you minimize backcountry skiing’s inherent hazards. Partners with more experience can teach you a lot about skiing in the backcountry—make sure to discuss your comfort levels, goals, and philosophies around backcountry travel to make sure you’re a good match. Red flags include backcountry ski partners who pressure you or allow ego to eclipse safety.
Personally I look for ski partners that make me feel safe and heard, respect the land we’re skiing on, and appreciate its beauty without trying to “conquer” it. I also look for ski partners that acknowledge that we’re skiing on Native land, and try to learn about it, its inhabitants, and the history of its sacred places before we head out.
Knowing Where to Ski
Now that you have the gear and knowledge to get out safely, it’s time to plan your first tour. Online forums, Facebook groups, and apps such as Powder Project are great places to start finding backcountry lines. Talk to experienced skiers in your area to learn about the local conditions, and always draw on your knowledge of avalanche safety and the current forecast when deciding where to tour. Most avalanche education courses will teach you how to plan a tour by looking at the map. As a beginner, going out with a guide is a great option to guarantee a safe tour on ideal snow conditions.
Getting into backcountry skiing might seem daunting at first. Resources exist for both scholarships and education, and I hope that there will continue to be more access for those marginalized in these spaces. If you’re actively getting into backcountry skiing, I’m so stoked for you. Please (if you haven’t already) cultivate a deep respect for the land you’re on and the dangers all around you. Respect for the land, your partners, and yourself is the best tool kit you can take out there.
