Products You May Like
If you’re trying to reach that vaunted 10-pound baseweight, there’s one piece of advice that you’ll hear more than any other: switch to a tarp and quilt. Adopting these alternatives to traditional tents and sleeping bags can offer big weight savings, but they also come with a learning curve, and many a backpacker has ventured into the field with new lightweight gear only to find it uncomfortable or even unsafe. Quilts can be drafty and cold. Tarps can leave you exposed to the elements. But with some preparation, they can be just as viable as heavier alternatives. Here are our tips, from choosing the proper gear to setting it up correctly in the field, that will leave you confident and comfortable with a tarp and quilt setup.
Start With a Big Tarp and Plenty of Guylines
Sometimes, going ultralight can seem like a race to get the lightest, most minimalist gear possible. If you’re new to tarp camping, avoid that impulse and start with a roomy 8-foot by 10-foot rectangular tarp. This will give you more protection and some leeway if the tarp isn’t fully taut the first few times you pitch it. Since most tarp pitches rely on trekking poles rather than tent pole frames, stakes and guylines are crucial in obtaining a taut pitch. Bring plenty of both (at least eight) to ensure success.

Learn a Few Different Tarp Pitches
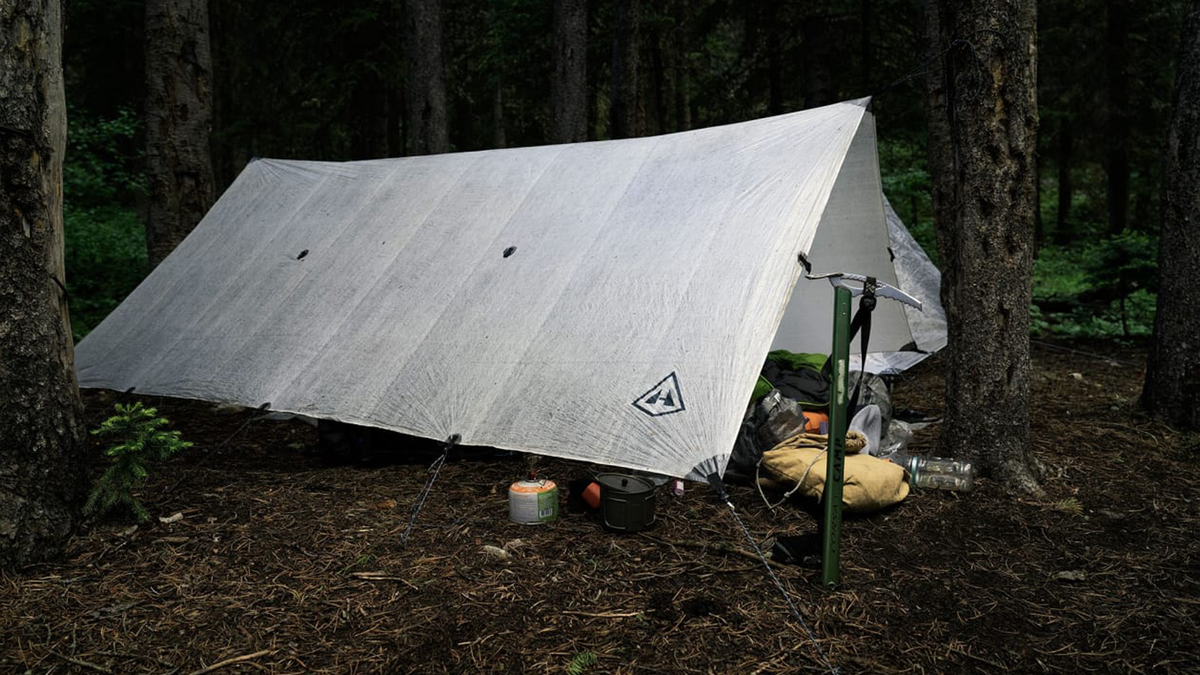
Tents are easy—there’s only one right way to pitch them. With a rectangular tarp, though, there are countless ways to modify your setup. The appropriate choice will depend on the weather conditions you face. The A-frame method will likely be your go-to for fair weather because it offers good ventilation and a quick setup. In blustery conditions, a lean-to pitch is a good choice because it will secure the tarp to the ground against the prevailing wind but leave plenty of breathing room. On a rainy day, try a diamond pitch, which will minimize exposure.
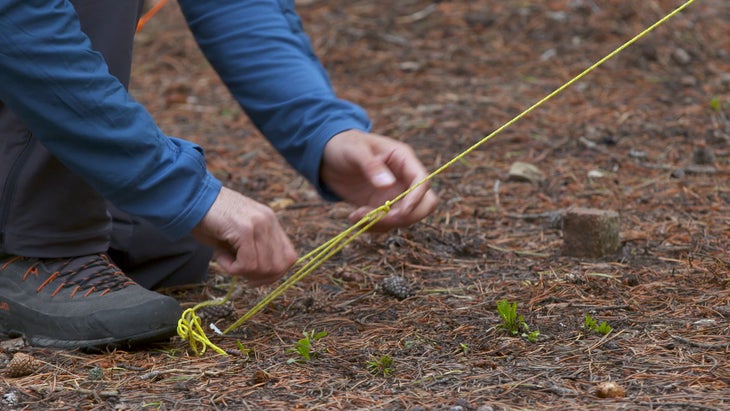
Tarp camping is easier if you don’t rely on fixed-length guylines every time you pitch your shelter. By learning a few simple knots, you’ll be able to adjust your guylines in a matter of seconds, allowing you to avoid rocky ground and other obstacles and use trees to aid your setup.
Supplement your Tarp with a Bug Net or Bivy
While the weight savings of a tarp are alluring, there are plenty of conditions where it might be hard to sleep in comfort under a single layer of nylon. In buggy conditions, a bug net like the Mountain Laurel Designs Bug Bivy can save your sanity. In fact, many people opt to bring a bug net along even on trips without much bug activity. They can also boost the warmth of your shelter (the fine mesh construction is super breathable, but it does trap some heat) and prevent condensation issues by catching drips before they reach you or your quilt.
To help turn your tarp into a viable three- or four-season option, a waterproof-breathable bivy is another option to consider. A bivy can provide a serious boost to warmth, cut down on wind chill, and protect against rain that splashes under the walls of your tarp. And while it adds some weight to your ultralight sleep setup, the lightest tarp and bivy combos still beat even ultralight freestanding tents.

Buy the Right Size Quilt
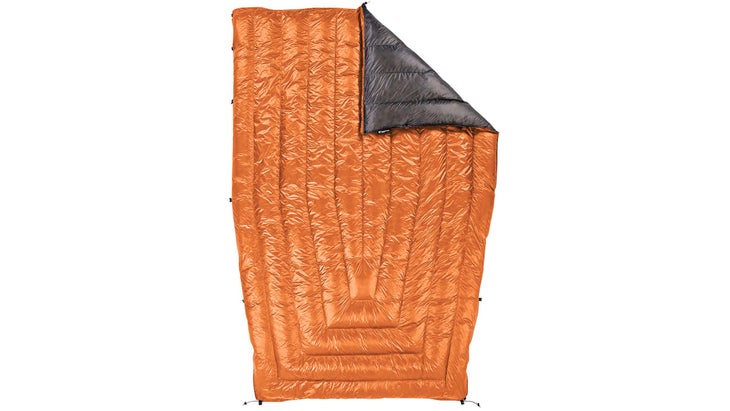
Since most people switch to a quilt to lower pack weight, it’s tempting to buy a short and narrow quilt to maximize those weight savings. But this can backfire. An undersized quilt acts as little more than a blanket and could leave you shivering even in moderate temperatures. To provide warmth in cold weather, your quilt needs to be wide enough to tuck securely between your body and your sleeping pad. Many quilts also come with straps or ties to secure the edges of the quilt to one another or to your pad—a feature that can reduce draftiness. Since quilts are hoodless, you’ll also want one that’s long enough to cover your face (along with a warm beanie) when temperatures drop. This extra width and length might make your quilt a few ounces heavier, but you’ll sleep warmer, and even an extra-wide quilt will still weigh less than a comparable sleeping bag.
Make Sure Your Pad is Up to Snuff
Since quilts don’t provide insulation underneath the hiker, it’s important to have a sleeping pad that’s appropriate for the temperatures you’ll face. All sleeping pads have an insulation rating known as R-value. If you switch to a quilt, it’s a good idea to double check your pad’s R-value and upgrade if you find it lacking. In general, a good 3-season pad will have an R-value of 2.5 – 4, and quilt users would be wise to err on the high side of that range. (Side note: R-value is important for sleeping bag users too—backpackers are often quick to blame their bag for a cold night’s sleep when the pad might be the culprit).
