Products You May Like
Get full access to Outside Learn, our online education hub featuring in-depth fitness, nutrition, and adventure courses and more than 2,000 instructional videos when you sign up for Outside+
Sign up for Outside+ today.
So you bought your first tent. Congratulations! No matter how impressive the specs or cutting-edge the materials, your shelter won’t do you any good if you don’t know how to properly set it up. While every tent model has a unique pitch, the following six steps are basic principles to get you the secure, dry, and cozy night in the backcountry you need.
Practice at home first.
Imagine this: You stroll into camp at dusk after a long day of strenuous hiking. You can’t wait to settle down with a pouch of macaroni and cheese, fuel up, then crawl into your sleeping bag for the night. You drop your pack, change into your camp shoes, and pull out your tent bag just in time to click on your headlamp. Twenty minutes later, you’re still fumbling with a tangle of poles, your fingers go numb as night descends, you’re hangry, and your tent is in a pile on the ground. Fail! Maybe you should have planned ahead.
Never set up a new tent for the first time in the backcountry. Some tent setups are more complicated than others, and even the most spatially-minded backpackers might need to fiddle before understanding the design. It’s better to go through that process well-fed in the comfort of your living room or backyard than in camp where it’s gametime and conditions may be harsh. Some manufacturers even offer YouTube videos with assembly instructions. Before you hit the trail, repack your tent, ensuring all the parts are included. Note: Not all tents come with stakes, and some only come with flimsy stakes. You may need to take a trip to the camping store before setting up your tent in the backcountry.

Find a good campsite.
Choosing the right spot to bed down for the night is a fine art. Generally speaking, you want a flat, smooth surface like packed dirt. Avoid f depressions where water could pool in the event of a downpour; look for well-drained areas instead. Lastly, don’t forget to look up for dead branches or other potential overhead hazards before setting up your tent.
Lay it all out.
Start by spreading your tent footprint or ground cloth in the orientation you’d like to sleep. Not all tents come with footprints, but they’re good to have in order to protect your tent from pokey ground, rocks, and cacti, as well as add a layer of protection from wet conditions. (You can purchase one separately or cut your own out of Tyvek.) Lay your tent body on top of the footprint, keeping the location of the doors in mind. If it’s windy, you might need to weigh down the corners with rocks or stake those corners down before attempting to set up your tent.
Assemble the poles.
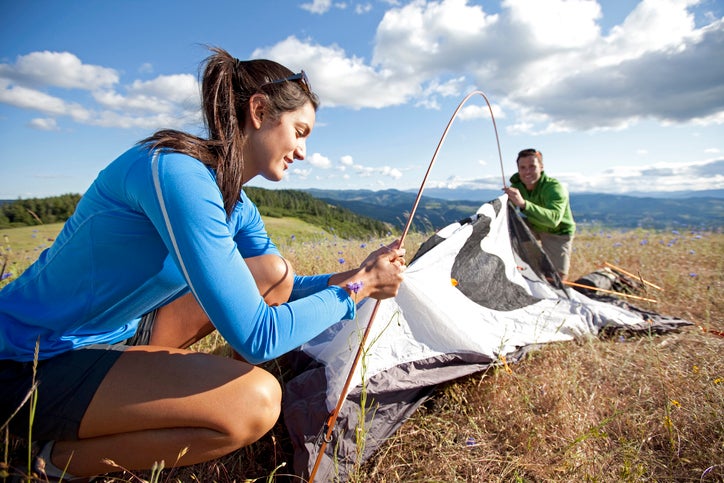
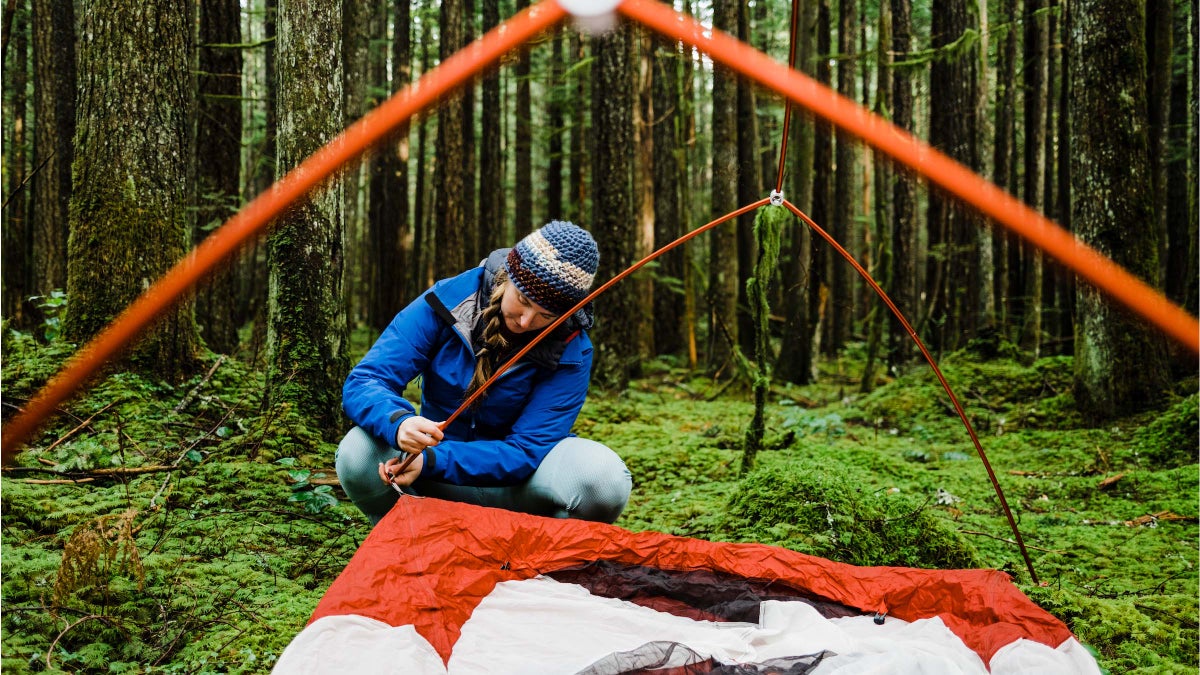
When putting poles together, insert each section one by one; avoid flinging the whole thing in front of you to get it to snap together. Not only could this result in a hiking partner with a poked eye, but it also increases the likelihood that you’ll break your pole or shock cord. Assembling the poles section by section ensure that each piece is seated properly and prevents damaging pole ends. Whether your tent has pole sleeves, grommets, or clips to attach them to the tent body, it’s helpful to assemble it with a buddy. Stand in opposite corners of the tent while you insert the poles.

Set up your tent.
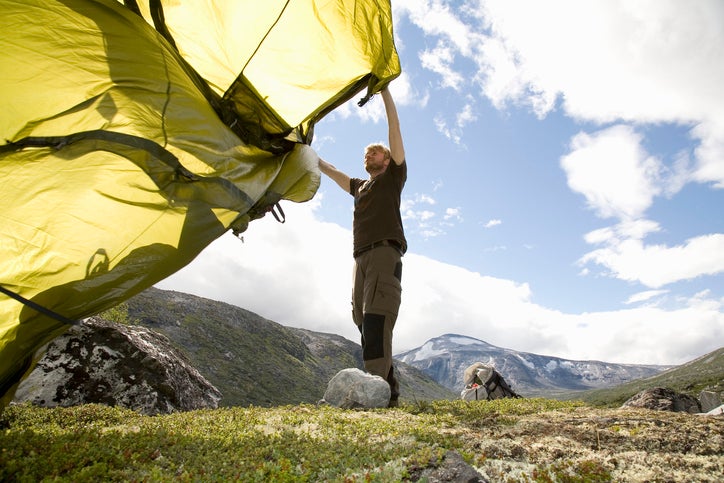
This step depends on the design of your shelter. Make sure you’re matching all the proper parts and corners, securing all buckles and clips, putting on the rain fly and tightening straps and guylines for a taut pitch. Congrats! You’ve set up your tent. But you’re not done yet.
Make it secure.
Especially if poor weather is in the forecast, you want your tent to be bombproof. Stake out all corners, and angle your stakes toward the tent for maximum strength. In hard ground, use a rock to gently hammer them in. You may need to move your tent setup slightly to drive in stakes around rocks and roots. In snow, use deadman anchors. Stake out all of the guylines and pull them taut to secure your tent from gusty winds. Stow your tent and pole bags inside so they don’t blow away.
Last updated April 2022
