Products You May Like
Get full access to Outside Learn, our online education hub featuring in-depth fitness, nutrition, and adventure courses and more than 2,000 instructional videos when you sign up for Outside+
Sign up for Outside+ today.
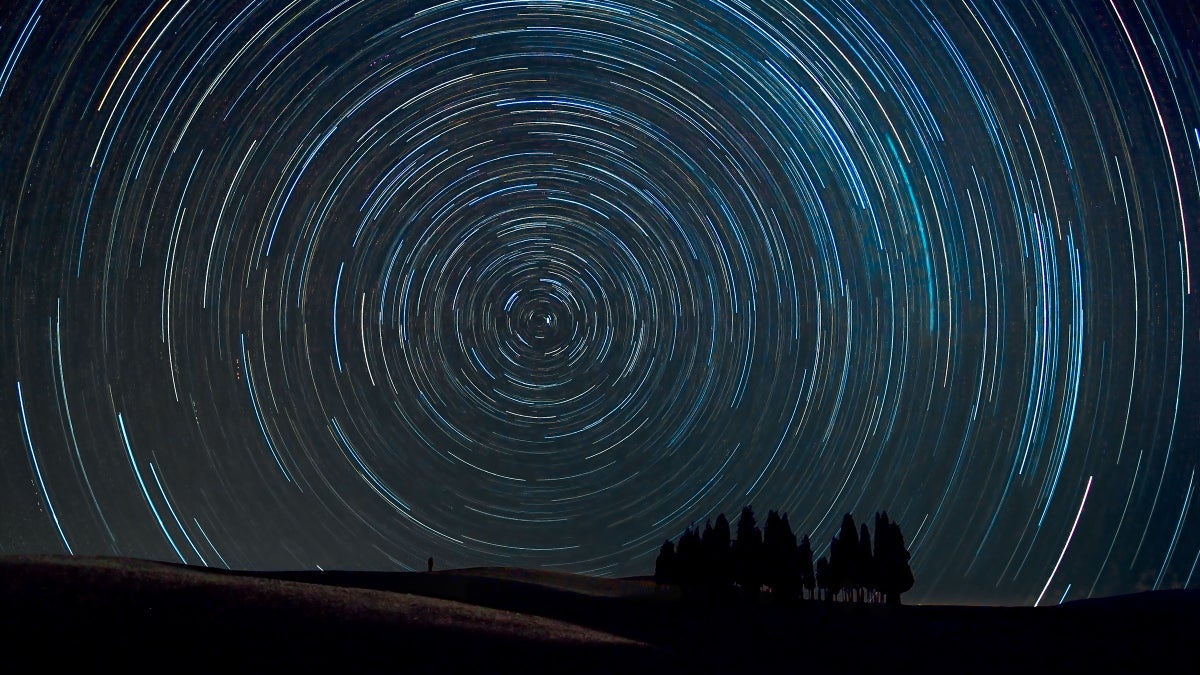
You’ve seen the photos: The stars whirl above some gorgeous scenery, forming long, curved trails of light. Capturing these otherworldly views is easier than you think.
Manage the Moon
Avoid including the moon in your shot, as it will look like a huge bright smudge. Plan your trip to coincide with the new moon, shoot while the moon’s below the horizon, or frame so moonlight only illuminates the terrain (as above). Also key: clear skies, and no wind if you plan to include leaves.
Compose
Use a tripod. For concentric rings, locate and include the North Star, which the rest of the stars appear to rotate around. Add other elements that look best with long shutter speeds, such as a waterfall or lit tent.
Prepare your Settings
Manually focus to infinity; everything more than about 15 feet away will still be sharp. Set the aperture all the way open and the ISO between 100 and 400, to decrease image noise (grainy spots). Expose with a shutter speed between about 30 seconds and 20 minutes.
Capture the Stars Moving
Shoot on interval mode with less than 2 seconds between each exposure. Capture at least 45 minutes of total exposure time. For shutter speeds longer than 30 seconds, most cameras will need an external intervalometer (from $25; pick one that fits your camera).
Combine Shots
Download your captures, process them all identically, then group into one folder. Use StarStaX software (free; Windows/Mac) to layer the images in the folder. For each pixel, the program will show the brightest one you captured in any shot, thus creating the effect of star trails.
Try Single Exposure
You can create star trails the old-fashioned way, in a single frame, by leaving the shutter open for one very long shot. This method uses more battery and leads to much more noise in the file. It’s also riskier; a single errant light flash can ruin your image. But it uses less memory, and you get the pleasure of seeing your image in the field. Preview your composition by cranking the ISO all the way up and perfecting the look you want. Then reduce your ISO back below 400, doubling your shutter speed each time you reduce ISO one stop. The longer you expose, the longer each star’s path will appear (plan for a minimum of 30 minutes).
Originally published 2015; last updated July 2022
