Products You May Like
Training for a high-altitude trek requires both preparing for the demands of the trail—the distance, climbs, and weight on your back—as well as the physical toll of elevation itself. When it comes to getting fit for altitude, there’s no one-size-fits-all approach; Parker recommends taking into account all of the factors you’ll face on trail and drawing a training roadmap specific to your trip.
The first step toward acclimatization is to be fit, which will help your body make all the adjustments it needs to, according to Parker. A strong, healthy body is your first line of defense against altitude sickness. “You want to be metabolically efficient and physically efficient, so that there’s less demand while the body is trying to acclimatize,” says Parker.
Start a fitness routine at least four months in advance of your trip and ramp up slowly: “Understand where your base is, and incrementally increase.”
Focus on aerobic fitness and endurance before a high mountain trek. Work in three to four days of aerobic activity per week, like jogging and hiking, and slowly introduce weight up to the load you’ll carry on trail.
The Expert: Carolyn Parker is the founder of Ripple Effect Training Center, a strength and conditioning facility in Carbondale, Colorado.
Strength Training
Strong muscles protect the spine and allow it to support extra loads. Parker recommends incorporating any of the following exercises into your workout routine, or any strength-specific exercises you prefer, along with regular core exercises such as situps, planking, and bird dogs. Start with two to three sets of 10 reps each. As you get stronger, gradually add weight. Seek advice of a professional if you don’t know how to do something, and make sure your form is correct.

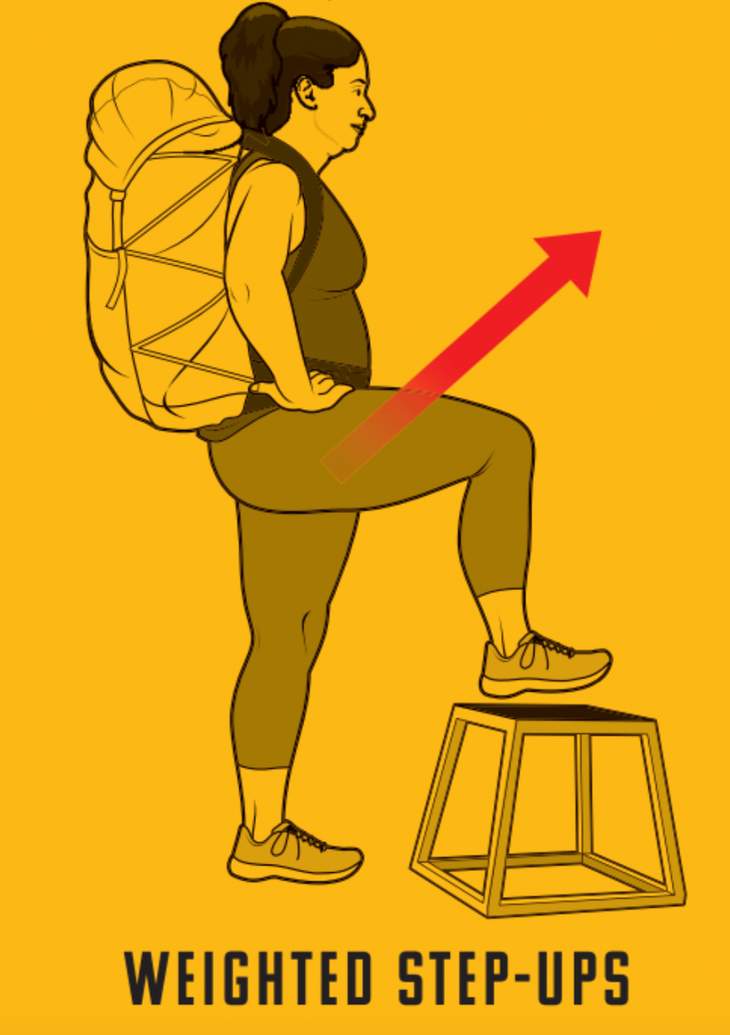
Weighted Step-Ups
Wearing a loaded backpack (start with 10 to 15 pounds and work your way up to trail weight), step onto a 16- to 20-inch-high bench or box with your right foot. Extend your right leg and hip as you bring your left foot on top of the box. Alternate your leading foot with each step.
Goblet Squats
Hold a 20-pound kettlebell or dumbbell close to your chest as you perform squats, keeping your knees over your toes and your upper body upright.
Split Squats
From standing, step your right foot forward to assume a staggered stance. To find the proper foot position, lower your left knee to the ground. From this stance, both knees should form right angles. Keeping your feet planted, stand. Perform the squats by lowering your back knee to the ground. Complete all reps before switching feet.
Acclimating
“There’s no way to rush the process of acclimatization,” says Parker, so make sure you build in time to start slow in your trip plan. Parker recommends going to high altitude (8,000 feet or higher) before your trek to learn how your body adjusts and give it a head start. While the physiological effects of acclimating don’t last long, they do prime your body to do it again in the future. “Generally speaking, the first time you expose your body to high altitude is the hardest,” says Parker. If you can’t hike up high before your trek, talk to your physician. Medication shouldn’t be your first defense against altitude, but it can help.
Breathe Easy
A technique called pressure breathing can come in handy when the air gets thin by maximizing the efficiency of each inhalation and exhalation. Do this when you’re struggling to breathe, like on challenging climbs, or whenever you think of it, to create muscle memory.
- Inhale deeply.
- Purse your lips “like you’re creating a pressure gasket,” says Parker. This will give your diaphragm something to work against as you exhale.
- Exhale forcefully through your pursed lips, emptying your lungs as much as possible.
- Inhale deeply and repeat. This process allows your lungs to effectively purge carbon dioxide on each exhalation, making more room for fresh oxygen when you breathe in. Practice this technique before hitting the trail so it feels natural when you really need it.

The Air Up There
By Eli Bernstein
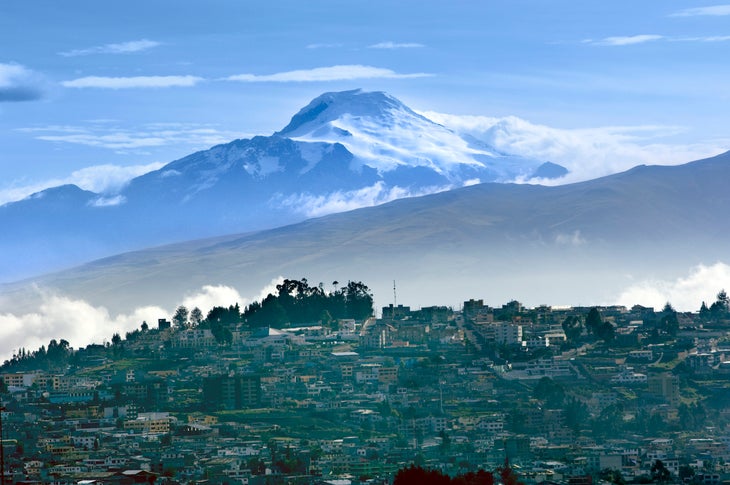
As I stood on the top of Cayambe, a 19,000-foot-tall volcano in northern Ecuador, I found myself amazed by two things: First,
the infinite view over a carpet of clouds, with the smoking summit of Reventador, another volcano, to the east, and the lights of Quito winking in and out to the south. Second—and more surprisingly—the fact that I was breathing normally, and my head felt fine. Heading up to extreme altitude takes a toll on your body, and every hiker experiences the effects differently. The best way to mitigate altitude sickness—and more severe conditions like High-Altitude Pulmonary Edema and High-Altitude Cerebral Edema—is to acclimatize, and I knew that was my best bet for summiting Cayambe, which was a few thousand feet higher than I’d ever climbed before.
With that in mind, I planned three acclimatization hikes prior to the main event. Each would take me progressively higher and feel like an adventure unto itself, not just a chore. After all, I was on vacation. The first preparatory outing was to Pasochoa, an extinct volcano south of Quito. The climb took me to 13,800 feet on a relatively mellow trail. A good start. Next, I headed up to a refuge on the flanks of 19,347-foot Cotopaxi, where I walked around at an altitude of about 15,700 feet. Finally, I trekked to the summit of Pichincha, another volcano on the outskirts of Quito. As I slogged through scree to its 15,700-foot summit, I thought, “I feel pretty good. Maybe I can actually do this.” Two days later I reveled in the view from Cayambe’s rime-encrusted summit plateau. Were my feet sore from the plastic mountaineering boots I was wearing? Absolutely. But besides that, I felt on top of the world.
