Products You May Like
The ultimate backpacking adventure takes a lot of work before you first step out the door: You plan the route, train for it, rearrange work schedules, field test new gear, take planes, trains, and automobiles to get to the trailhead, and finally embark on your journey. Mere hours into your multiday trek, it’s easy to think that all the inconveniences are in your rearview mirror. Then a small twinge appears, and moments later comes actual pain. There’s no denying it: You’re injured. Time to admit defeat, head back to the trailhead, and consider how to stay healthy on the next trip.
There is a lot of evidence to support cross-training as a way to prevent injuries. It uses muscles that are not typically used during the primary activity, which strengthens and keeps the whole muscle area strong, as opposed to just one or two muscles. Also, when you cross-train, you move your body in different ways, which strengthens your ligaments stronger in different planes of motion, making them more adaptable when you fall, scramble, or need to climb over a tree stump trailblock.
How to Cross-Train
For a backpacker, any activity that isn’t walking with a load on your back is cross-training. It might involve taking a fencing class, finally exploring what all the hullabaloo is over pickleball, or buying a backyard trampoline. Don’t want to commit to anything costly or time-consuming? Without signing up for a dodgeball league, 3-on-3 hoops tournament, or synchronized swim team, you can add drills from the sports you played during a previous lifetime to your training list. Or you could try the drills outlined below.
You can add these drills individually to another workout or do them together in a full cross-training workout. To start, set out your gear and download an interval timer from the app store. After a quick warm up, set an interval timer for 30 seconds of work, 15 seconds of transition/recovery. Choose an overall workout time, which can vary based on how much time you have available; 35 minutes is a good goal.
Beyond varying the overall workout time, you can change the interval time. Cycle through the four exercises, working to get as many quality reps as possible in 30 seconds; then recover for 15 seconds. Perhaps 20 seconds of work feels better. Maybe you’re feeling very motivated; up the work to 45 seconds and the recovery to 25 seconds. There is no wrong way to do this as long as you find the workout challenging.
Depending on what else you are doing to train for your next adventure, this cross-training workout might be a good addition to your overall training plan once every 2 to 3 weeks.

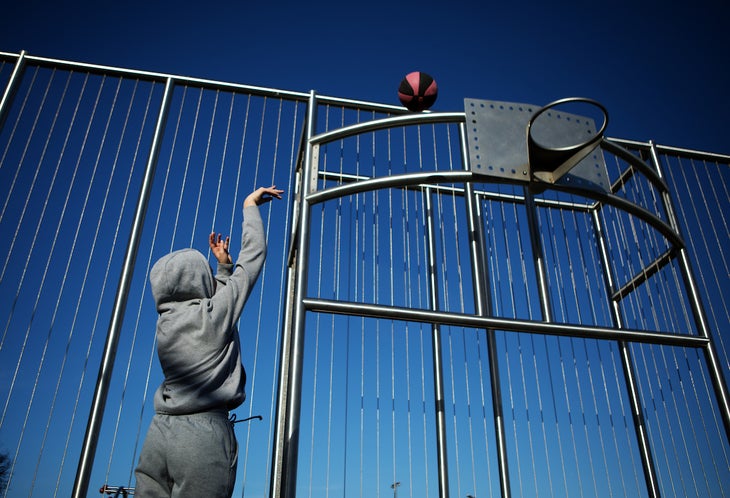
Basketball Bank-Shot Drill
This drill works the whole body (legs, shoulders, core). If you perform this drill continuously, you’ll get a cardio boost, too.
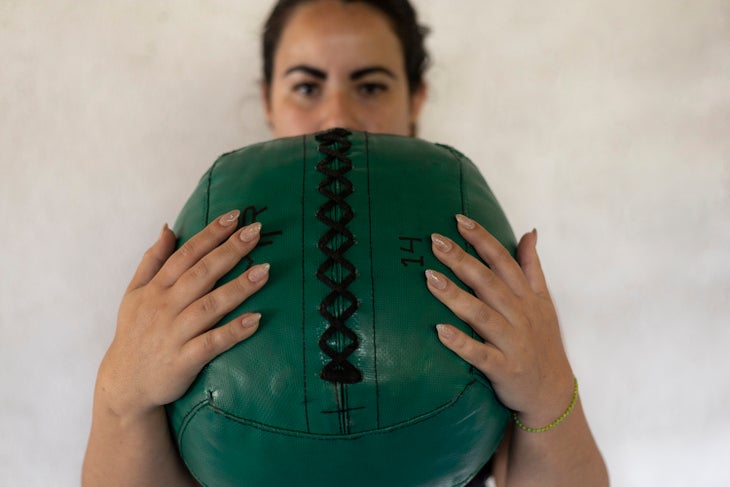
This exercise will replicate the drill coaches use to help players visualize bank angles from near the backboard. Grab a medicine ball. Don’t have one? You can use any object that has some heft: a dumbbell, weight plate, an old hardcover dictionary; in a pinch, an actual basketball will do.
Grab the medicine ball with two hands, touch it to the ground in front of you and immediately jump up, lifting the ball overhead as if you were about to bank in a shot off the backboard from two feet away. Don’t actually “shoot” the object in your hands; hold onto it. When you jump, move laterally in the air, landing a few feet from where you took off, mimicking a move that puts you on the “other side” of the basket. Land softly, with ankles, knees, and hips flexed. Squat down and touch the ball to the ground and repeat the motion of the bank shot, jumping laterally in the other direction.

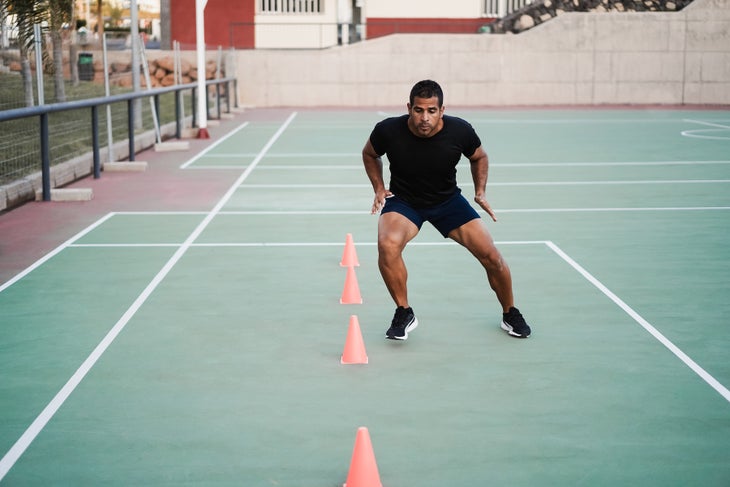
Tennis “T” Drill
This drill improves your agility: stopping, starting, and changing direction.

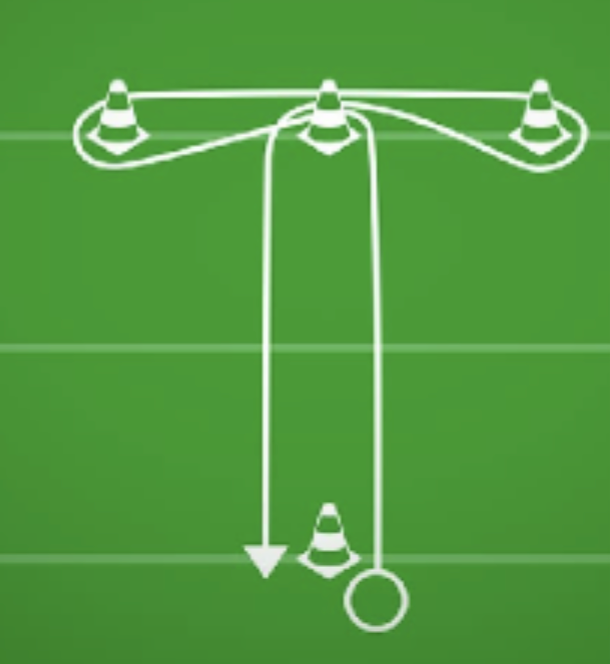
Set up four cones (substitute water bottles, dumbbells, or tent stakes) in a T shape. The two cones that make up the vertical part of the T should be ten yards apart. Similarly, the three cones that make up the horizontal part of the T should be ten yards wide in total. Start the drill at the bottom of the T and run to the intersection at the top of the T. Plant your right foot and run to the left until you get to the left cone. Loop around it and run to the right cone. Loop around that cone, and run the other direction back toward the starting cone. Backpedal to the start cone and repeat three times. For variation, you can use different movement patterns:
- bunny-hop through the T
- bear crawl through the T
- backpedal the entire pattern

Wrestling Shoulder Strength and Mobility Drill
This drill will strengthen your shoulders and core.
Place the balls of the feet on a small stepstool or on the curb. Something about 5 to 6 inches high is enough; the higher the stool, the harder you work. Walk your hands out in front of you; your spine and hips will be parallel to the ground. Without crossing your arms or laterally flexing at the spine, walk your hands as far to the left as possible, and back to the right, completing an arc pattern. While maintaining a straight spine, continue going back and forth through the arc for the duration of the work interval.

Soccer Goalkeeping Core and Hand Strength Drill
This drill will primarily work on the abdominal muscles. If you use a weighted ball, you’ll work your forearms and grip strength.
Before starting this drill, grab a partner. (If you’re working out solo, toss a ball against a wall—catching the rebound before lowering the torso—aiming for the same spot on the wall with every toss.)
With a weighted medicine ball in your hands, lie on your back, bending your knees so that the soles of the feet are flat on the ground. Grab the ball with two hands and bring it to your chest. Contract your transverse abdominis and other core muscles, lifting your torso into a sitting position. Keep your spine straight throughout the range of motion. As you sit up, chest press the ball to your partner who is standing a couple feet away from your shins. Aim for a strong, quality toss to their midsection. At the top of your crunch, your partner will toss the ball back to you. Bring the ball close to the chest as you slowly lower your torso back to the ground.
