Products You May Like
Get full access to Outside Learn, our online education hub featuring in-depth fitness, nutrition, and adventure courses and more than 2,000 instructional videos when you sign up for Outside+
Sign up for Outside+ today.
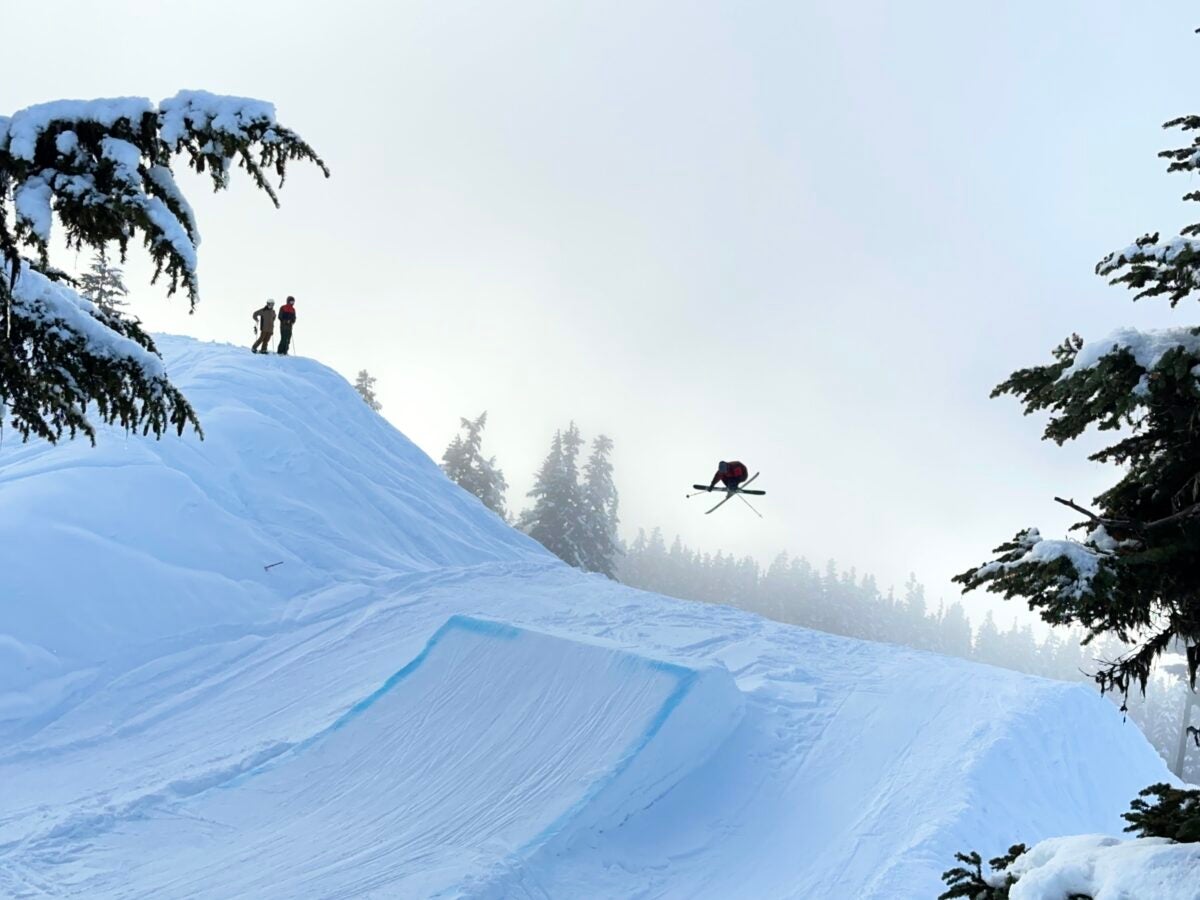
Ski season is well and truly underway (thank goodness), and our social media feeds are experiencing the annual flood of ski spam. These days, iPhones are spec’d up to the nines, making them a much more appealing choice for ski photography than lugging around a clunky DSLR in your backpack. As a photographer, I can tell you with confidence that you don’t need to own expensive camera gear (or hire a professional photographer) to get some great ski shots on the mountain this year. Here’s a quick list of techniques to give your next Instagram post a professional edge.
The Basics
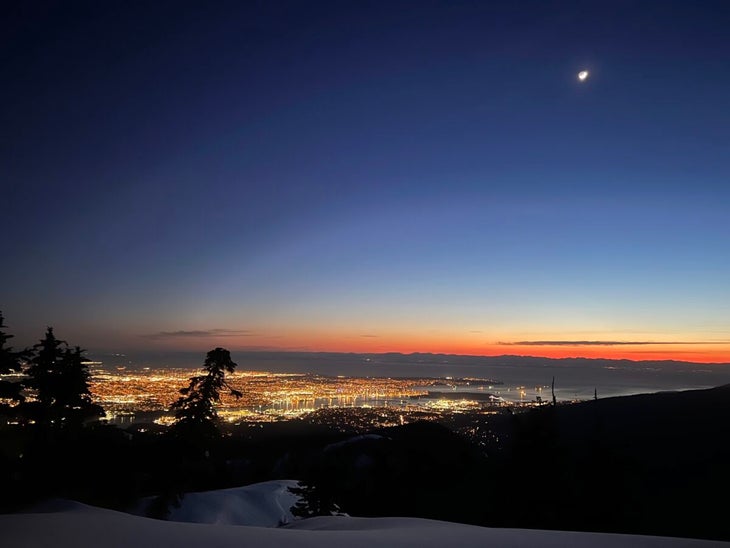
You can’t control everything, but there are some things you can do. If you’re hoping to get some epic ski shots of yourselves and your buddies – start by wearing bright colors. Vibrant, solid colors will help you or your subject pop out against a snowy white background. Secondly, whilst you can’t control the weather, it’s good to set yourself up for success. Generally, the best light for photos is found in the early morning or late afternoon, when the sunlight will be soft, and less unforgiving and those magic ‘golden hour’ tones will reveal themselves. On a sunny day, head for wide open spaces where the sun, sky, and shadows will provide good contrast, and your subject’s bright clothes will really pop. If it’s cloudier, then shooting near trees will give better contrast and depth perception.
Settings: Burst Mode is Your Friend.
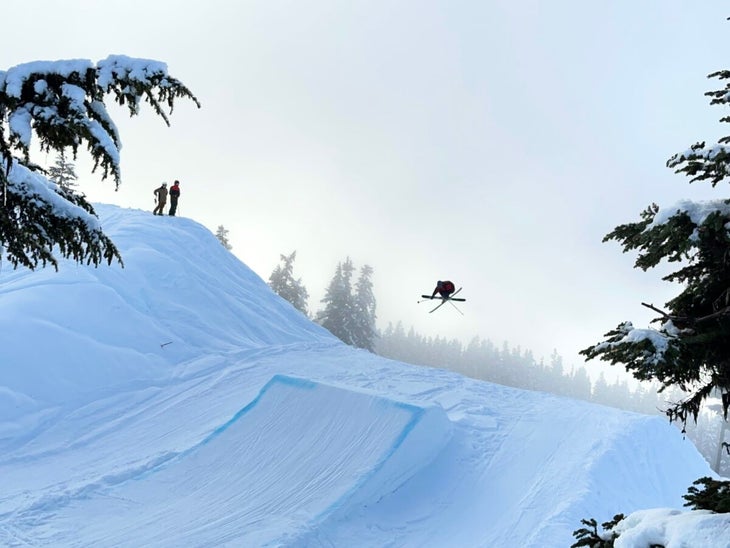
First things first, your flash should remain off. Using flash in broad daylight (generally speaking) can ruin the color composition of your image, unintentionally darkening the background. Second, shooting a moving subject is best done using burst mode. The burst mode on the iPhone is incredible, and a failsafe way to ensure that your photos don’t come out blurry. Live mode is another great function for this – when activated, it begins taking a photograph 1.5 seconds before and after you take a picture so you never miss a moment.
iPhone tutorial: In the Camera app, make sure Live Photos are on by tapping the dotted circle in the top right corner. After taking your photo, go to Edit, tap on the Live Photo icon and scroll through to select the best frame for the perfect moment. For Burst Mode, press and drag your finger left whilst maintaining pressure on the iPhone camera button. The camera will take continuous photos until you release pressure. Once finished, open the photo, press Select, and scroll through to pick your favorite shots.
Keep it Steady
When taking photos, it’s important to hold your phone (or camera) as steady as possible. If you’ve naturally a bit shaky-handed or are just slightly over-caffeinated, try tucking your elbows into your sides. It’ll be a little awkward, but the photos will be better supported and stable. Leaning against something solid will also help you stabilize yourself, and therefore your shot.
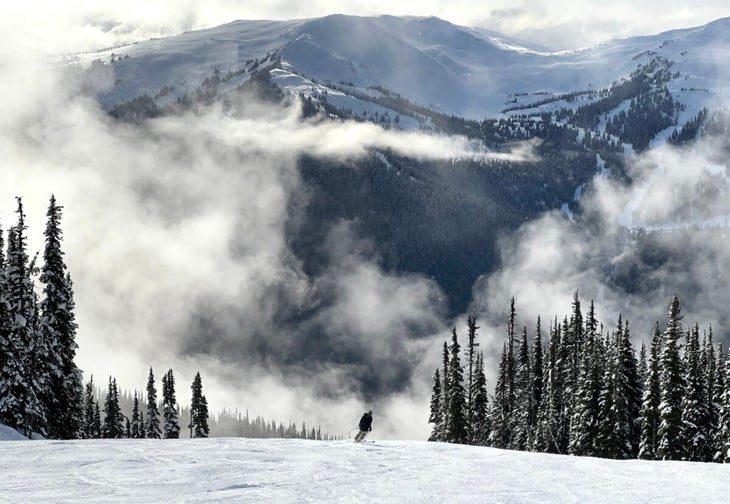
Creative Angles
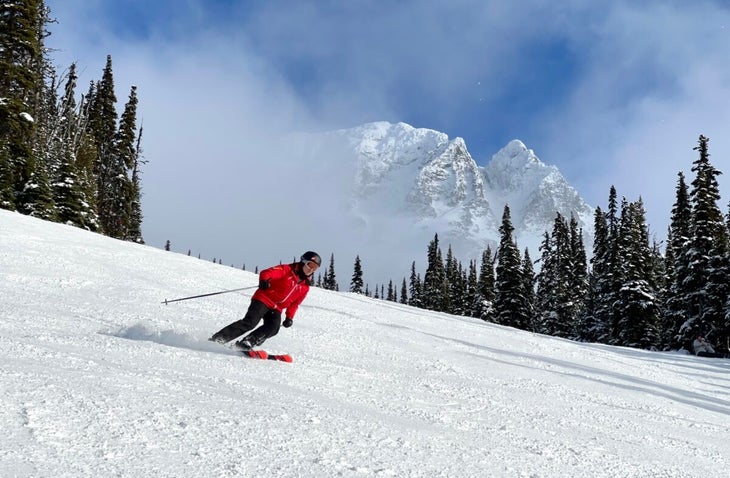
If you want to milk how steep your line is, shoot from below. The experts say the optimum angle for extra gnar points is 45 degrees below the subject, but if you left your compass at home, just shimmy a little way down below your subject and direct them to make a turn right where you want to shoot them. Hold your phone close to the snow, pointing up at the subject for maximum effect. Ultra Wide is a great setting for shooting these ‘hero turn’ images but try Telephoto shots too to get some compression in your background. This is how pro photographers make mountains and nature seem larger than life. Zoom is your friend! The new iPhone has four zoom modes, so you can get different perspectives on the same scene with minimal effort. The default camera setting is ‘Main’ at 24mm, Ultra Wide (13mm), 2x and 3x Telephoto Zoom.
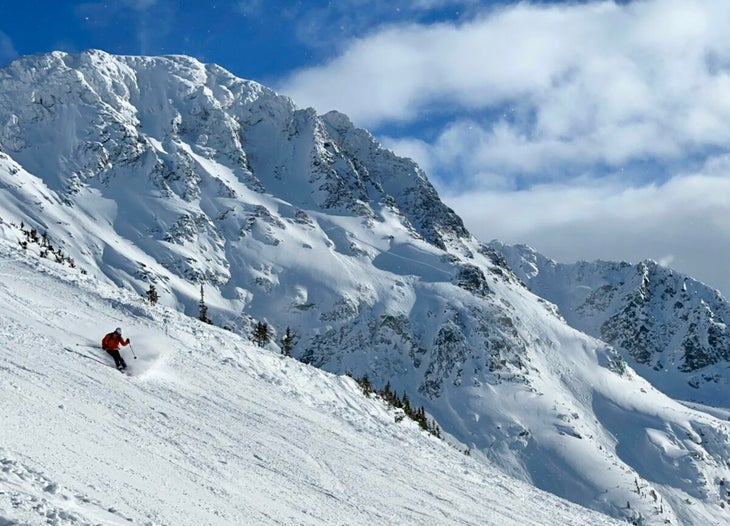
Check Your Exposure
Bright white snow makes exposure hard to read, so take a test shot beforehand and check to see if your photo looks dark or muddy. If so, you might want to adjust your exposure settings. The best way to do this is by first setting where to focus (tap on the screen) and then adjusting the exposure by sliding the small sunshine icon up (brighter) or down (darker).
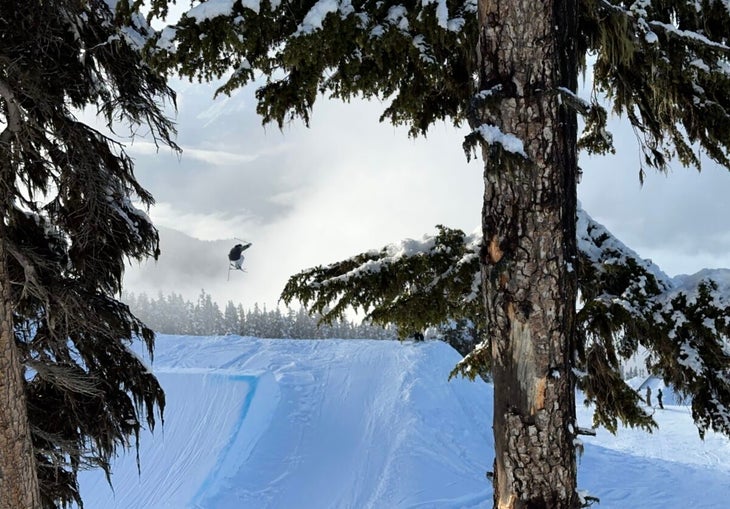
Finding Foreground
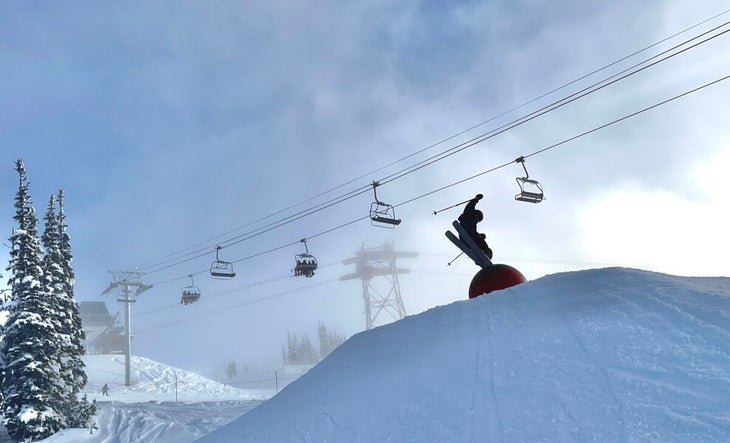
Creating depth in the image is what makes it more interesting, which is what the foreground is for. When framing your photo, think about placing objects such as trees, shrubs, rocks, or chairlifts in the background and foreground. Try to keep your subject as the only focus in their ‘layer’ of the photo, so it doesn’t look too busy and they really stand out.
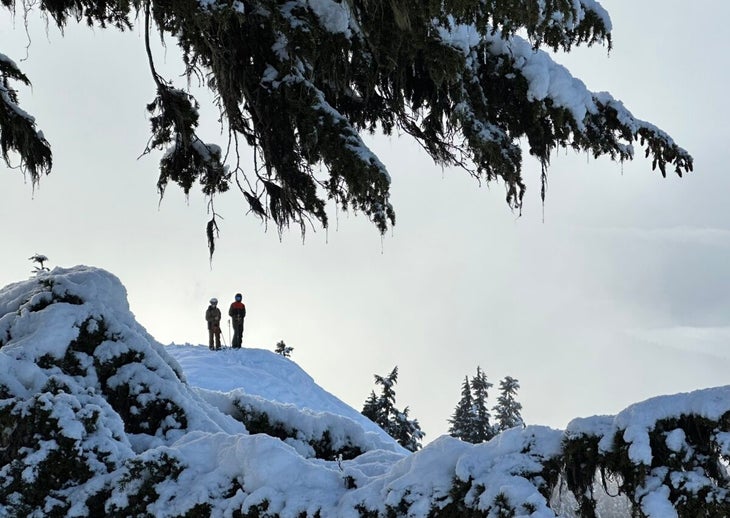
Composition
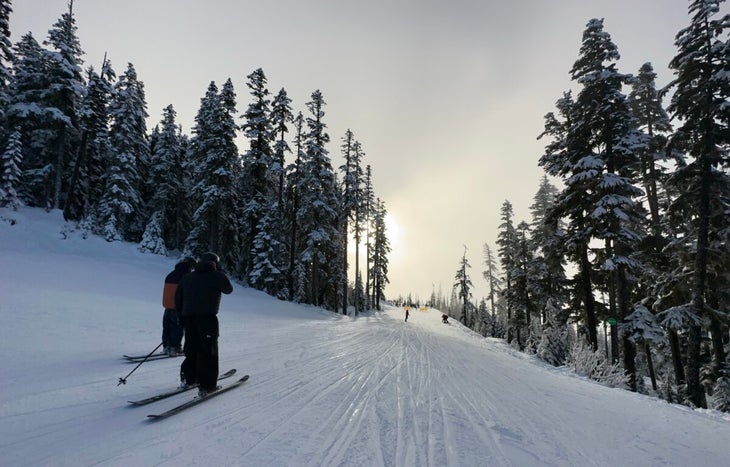
One of the easiest tools of composition to apply to iPhone photography is the ‘rule of thirds’. The concept is to divide the image into horizontal and vertical thirds, and then place your focus point where the lines intersect. This gives your image a balanced look and feel. Another technique that is easy to apply is that of ‘leading lines’. Try to find any type of line in your frame – tree branches, light, shadows, the mountain shape, horizons, or anything else, and shift your body position to align as many of them as possible to be pointing toward your subject. It sounds hard, but there are more lines in nature than you would expect. This method helps guide the viewer’s eye right to what you want them to see—and is a crucial technique in photography.
Added Benefits of iPhones
iPhones are better suited to ski photography than many other digital cameras as they are water resistant – so you don’t have to worry about it getting snowflakes all over the LCD screen. The new models are also built with a ceramic shield and stainless steel finish, so you don’t have to panic if you drop it on the fresh corduroy – they’re robust. The latest technology on the iPhone 14 also has Crash and Fall Detection, along with Emergency SOS via satellite. These features help turn your content device into a safety device too.
There are a ton of amazing features on modern-day iPhones to take amazing photos on your next ski trip. Use these techniques of composition, exposure, and camera settings on your next ski trip and make everyone on the ‘gram jealous of your skills. Your back (and your bank account) will thank you for leaving the cameras at home.
