Products You May Like
Get full access to Outside Learn, our online education hub featuring in-depth fitness, nutrition, and adventure courses and more than 2,000 instructional videos when you sign up for Outside+
Sign up for Outside+ today.
Regardless of whether you are using an empty Gatorade bottle or the fanciest Camelbak on the shelf, staying on top of cleanings is the best way to keep mold and other bacteria in check. Here’s how to properly clean your hydration pack and water bottles after every use.
Why You Should Clean Your Hydration Pack
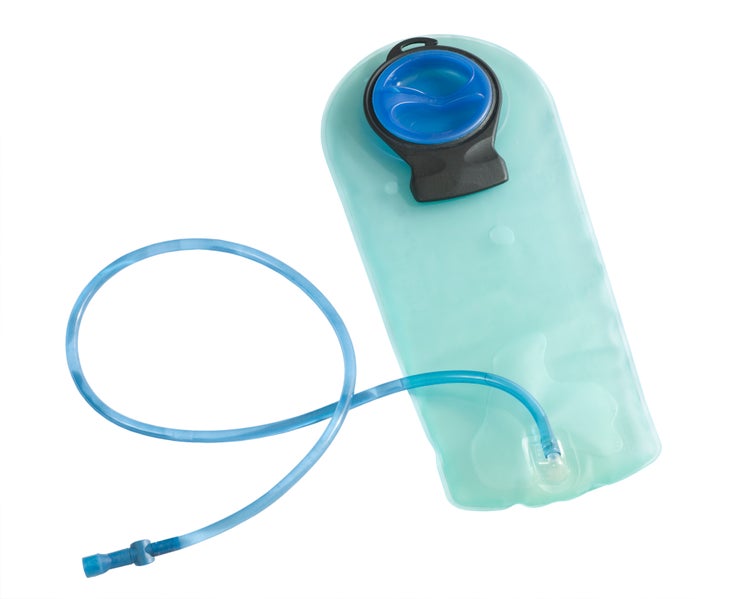
Even if you only ever fill your hydration bladder (also called water bladders or resevoirs) with water, it can be a breeding ground for mold and mildew. The soft-sided plastic vessels, enclosed tubes, and drinking nozzles often trap water and are difficult to dry. The bacteria that grows in this sitting water can make you sick, or at best will taste bad. To keep your water tasting fresh and to avoid illness, dry your bladder well when it’s not in use, and regularly deep-clean it to stave off harmful buildup.
In addition to personal health, cleaning your hydration pack is important for prolonging the life of your gear. Mold and milder can expedite the degradation of the plastic, force you to replace nozzles more frequently, or require you to replace your hydration pack altogether.
Mammoth Lakes, California-based hiker and mountain biker Tom Kearns recommends having a routine.
“I’ve got a cup hook next to the sink, like what you put a coffee cup on,” Kearns says. “I rinse out my hydration bladder when I get home and hang it upside down on the hook. I put a paper towel inside to help absorb the moisture and completely dry it out.” Find your own routine with these simple tips.

How to Clean Water Bottles
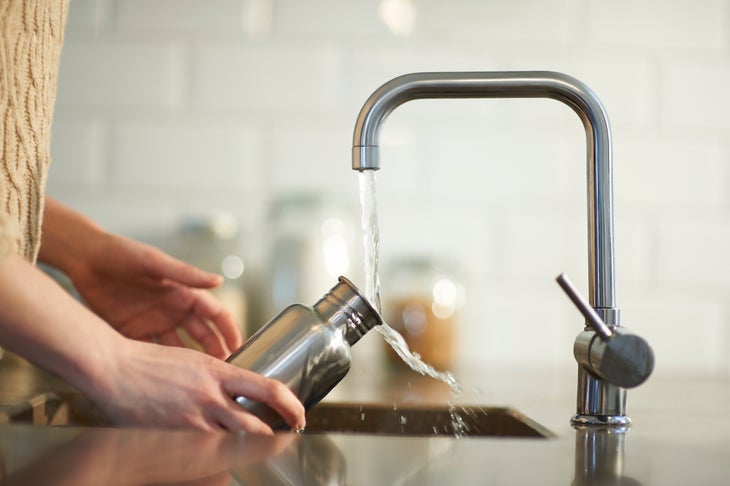
Cleaning plastic, reusable water bottles may seem pretty straightforward, but if not cleaned and stored properly they can develop strange odors or tastes. After each use, water bottles should be rinsed and air dried completely. One of the most common mistakes is to leave water bottles in a wet environment or full of liquids.
Cleaning is even more important if you put liquids other than water, such as juice or electrolyte drinks, in your water bottle. Leaving these liquids inside for an extended period can result in unpleasant tastes, odors, and mold.
If your bottle really needs a good cleaning, invest in a bottle brush and give it a good scrub as you rinse it. Again, make sure to let it dry completely before your next adventure. Overnight is usually sufficient.
If your bottle is too gross for a rinse and a scrub to take care of it, you can use baking soda for a deeper clean. Simply add hot water and a couple teaspoons of baking soda to the water bottle and let it sit overnight (you can add a couple drops of household bleach as well if desired). Rinse in the morning and run through a dishwasher cycle if you are so inclined. Let dry completely.
One more method of cleaning a funky water bottle is to fill it with regular white vinegar and let it sit overnight. Rinse and scrub with soap and water in the morning. This method may leave a bit of a vinegar odor behind but it should fade quickly.
Stainless steel bottle? Any of the techniques above should work, but use caution with the dishwasher: Some single-wall bottles are OK to run through the machine, but most vacuum bottles are hand wash only.

How to Clean Hydration Packs
Hydration bladders have been around since the late 1980s. The most famous brand on the market, Camelbak, was born when founder Michael Eidson filled an IV bag with water and stuck it in a tube sock while competing in a race. Since IV bags are not known for their reusability, cleaning came later.
However, regular rinsing and drying are again your best friend. When it’s time for a deeper cleaning, grab some dish soap and one of the following cleaning solutions and get your clean on:
Reservoir cleaning tablets: Drop one into warm water.
Baking soda: A couple teaspoons go a long way.
Household bleach: Two to five drops is plenty. Mix it with the baking soda for some extra-strength cleaning.
Lemon juice: Helps neutralize odors. About ¼ cup to one liter of water should do the trick. You can mix this with the baking soda, but beware: This mixture will get fizzy, fast.
Get a brush kit that includes a brush for the hose and mouth piece. Fill the bladder with warm water and add your choice of cleaning solution. Give it a shake and allow the solution into the hose by pinching the mouthpiece. This will allow the entire system to have contact with the cleaning solution. Let it sit for 5 to 20 minutes depending on which cleaning solution you are using (tablets need less soaking time).
Drain the system and then fill again with warm, soapy water. Scrub the interior of the bladder, making sure to hit all the problem areas.
Next, use the hose brush to get all of the tough-to-reach spots in the hose as well as the bite valve. These pieces are hotspots for collecting moisture and can get gnarly pretty quickly if you don’t pay attention.
Drying Your Hydration Pack
If you don’t have a cup hook like Kearns, you can try other drying aids such as a reservoir hanger (sometimes comes with the brush kit), clothespins, or simply put the bladder upside-down and prop it open with a kitchen spoon or other utensil to give it plenty of room to breath and dry.
