Products You May Like
The Grand Canyon is one of the most-visited National Parks in the United States, but only about 1% of visitors actually go below the rim. If you want to experience the Grand Canyon from below, the Bright Angel Trail is one of the best – and most popular – day hikes and a good entry point for first-time visitors to this amazing National Park.
In this post, we share everything you need to know about doing a day hike on the Bright Angel Trail so you know how to prepare and what to expect.
Bright Angel Trail Basics
These stats are for the Bright Angel Trail to Indian Garden. The trail does continue on past Indian Garden all the way down to the Colorado River, but you need to be prepared with lots of water, sun protection, and food. Do not hike past Indian Garden in the summer when temps are typically 100F+.
- Difficulty: Strenuous
- Trail Type: Out-and-back
- Length: 8.9 miles
- Starting Elevation: 6,860 feet.
- Minimum Elevation: 3,800 feet
- Total elevation gain: 3,034 ft
- Dogs allowed: No
- Time: 5-6 hours, when taking ample breaks
- Permit required: No
Best Time of Year to Hike the Bright Angel Trail
Fall and spring are the best times of year to visit the Grand Canyon and hike the Bright Angel Trail. Temperatures are cooler and crowds tend to be smaller (although the Grand Canyon is never quiet).
I do not recommend hiking the Bright Angel Trail in the summer as temperatures can easily top 100 degrees and hiking in these conditions can be dangerous. The trail has very little shade and hiking in the summer can lead to heat exhaustion.
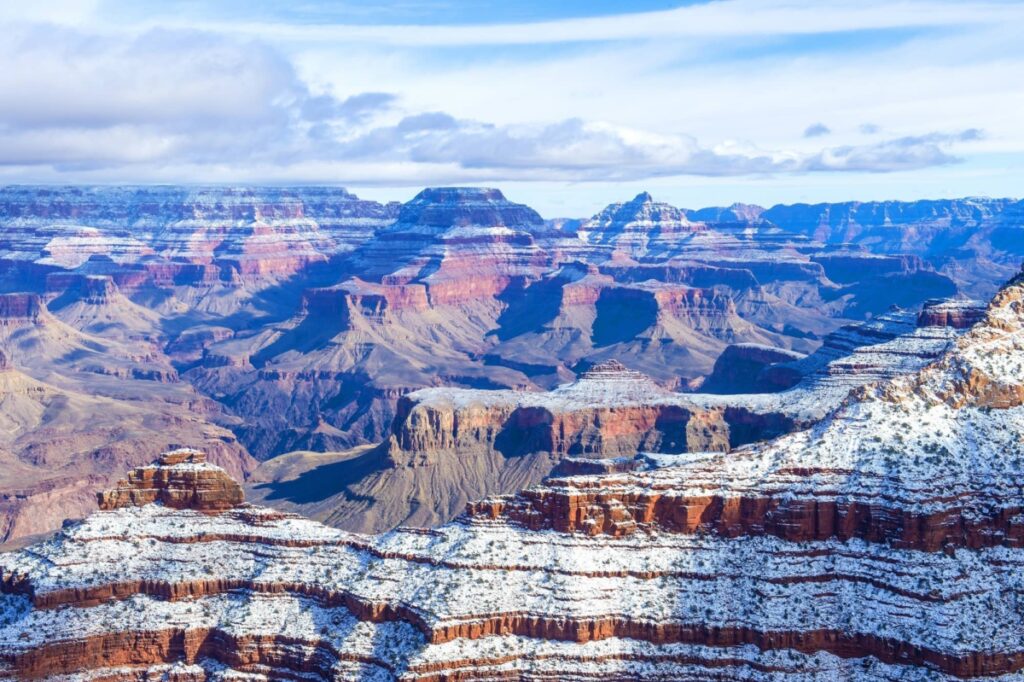
Winter can also be a good time to visit if you’re dressed for chilly weather and check the forecast for snow and rain.
Getting to the Trailhead
The Bright Angel Trailhead is located on the South Rim just west of the Bright Angel Lodge in the Grand Canyon Village.
If you’re staying in the park, the free blue-line park shuttle stops directly at the trailhead.
For those visiting for the day or who prefer driving themselves, hikers can park at the Backcountry Information Center (parking lot D), a short walk from the Bright Angel Trailhead.
A Brief History
The Bright Angel Trail has been used for hundreds of years as a way to access water at Indian Gardens. It’s named for the Bright Angel Fault, which provides a jagged break in the shear cliff walls that otherwise prevent access down to the canyon floor.
In the 1800s, gold prospectors arrived in the area and found the native Havasupai already using the route from the rim to the canyon floor where they planted crops near Indian Creek.
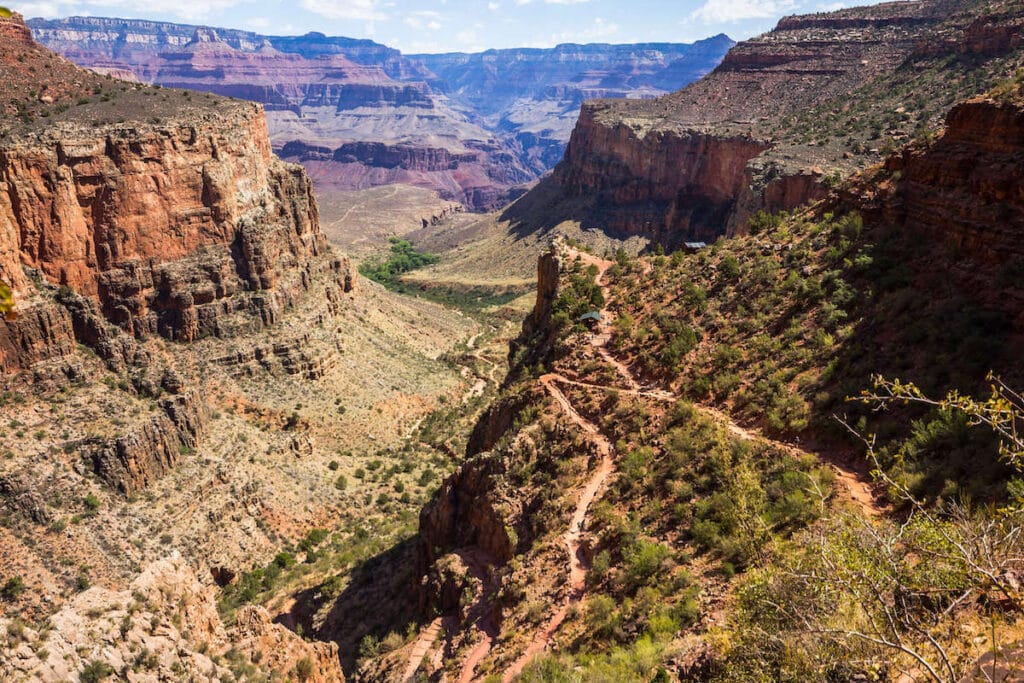
In the 1890s, miner and entrepreneur Ralph Cameron realized that with the arrival of the railroad to the Grand Canyon, tourism was going to be a bigger business than mining. He ‘registered’ the Bright Angel Trail and made improvements to the route. He also set up a campground at Indian Garden and charged visitors $1 to use the trail.
Cameron fought to keep his claim on this area even after the Grand Canyon was designated a National Park in 1919. He lost the battle in 1928 and was forced to hand over the trail and campground to the Parks Service.
The native Havasupai were the ones who lost the most, though. They were ordered to leave by Theodore Roosevelt in 1901. Those who stayed were eventually driven out in 1928 and forced onto a reservation in Havasu Canyon.
In 1975, after many negotiations, the government created the Havasupai Indian Reservation, which is considered the most remote community in the lower 48 States. It’s also where visitors can experience the incredible Havasu Falls.
Trail Milestones
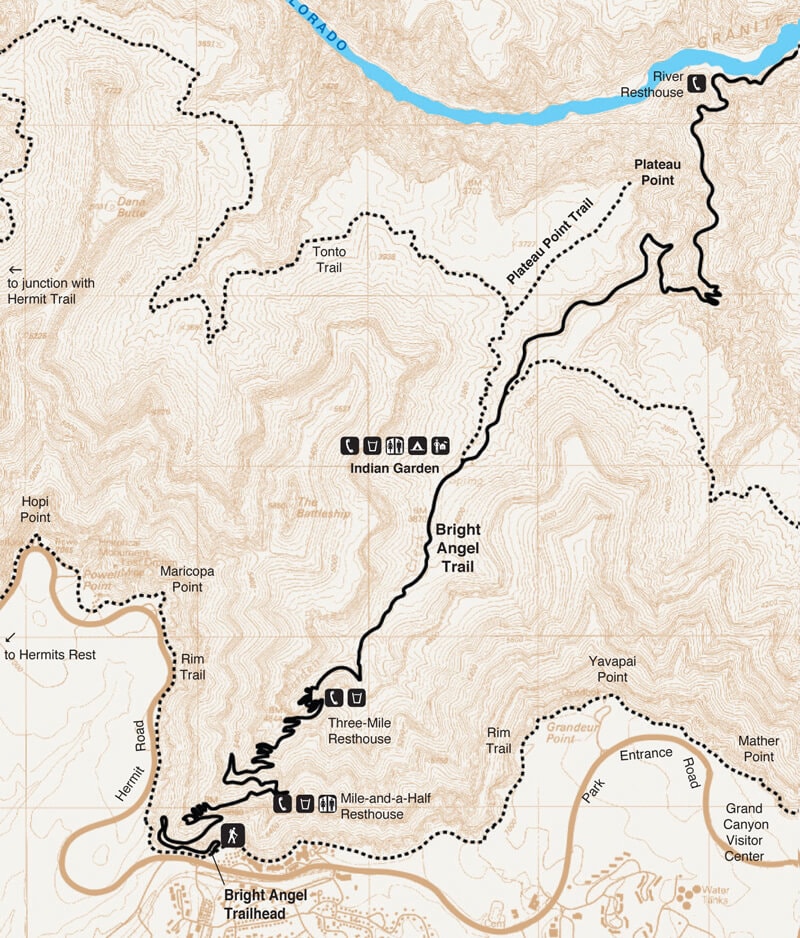
The Bright Angel Trail can easily be broken down into smaller chunks or milestones. If you plan on hiking all the way to Indian Garden, these milestones can help you gauge distance as well as help you keep tabs on how you’re doing with water.
1st Switchback – Mile 0.5
The first switchback is the start of a series of switchbacks that descend down the canyon walls of Grand Canyon National Park. From here, the trail loses quite a bit of elevation very quickly. There are also steep drop-offs on the side of the trail, so people who don’t like exposure may want to stop here.
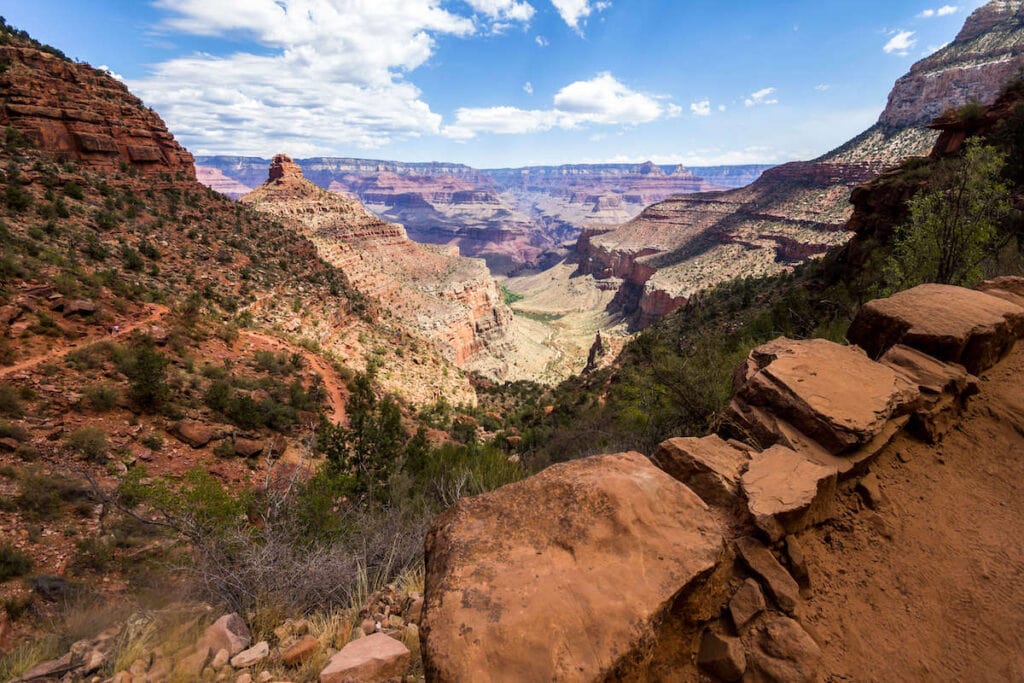
1.5 Mile Resthouse – Mile 1.5
The 1.5 Mile Resthouse is a basic stone structure with no amenities (seasonal water may be available). It offers great views out over the Canyon and is a great turn-around spot if you want a shorter hike.
3 Mile Resthouse – Mile 3
A second resthouse is located at mile three. Again, there are no amenities aside from seasonal water at the three-mile resthouse. The trail gets even steeper from here, so this is a good place to turn around if you’re worried about the hike back up.
Indian Garden
Indian Garden is a little oasis in the Grand Canyon desert landscape. A perennial creek runs through this area, which provided water for Native Americans who lived in the canyon for thousands of years. Today, Indian Gardens is home to a ranger station, a small visitors center, and the Indian Garden Campground (also known as the Havasupai Garden Campground).
If you want to spend the night, you’ll need to secure a hard-to-get overnight camping permit before your hike.
Plateau Point
About a mile and a half past Indian Gardens via Plateau Point trail is Plateau Point, an impressive overlook down onto the Colorado River. If you do this as a day hike, Plateau Point is 12 miles round trip with 3,740 ft of elevation gain. It’s recommended to only do this hike during the cooler spring, fall, and winter months.
The Bright Angel Trail continues on past Indian Gardens down to the Colorado River where hikers can cross the river over the Bright Angel Suspension Bridge. Across the river, the trail turns into the North Kaibob Trail, which continues on to Bright Angel Campground, Phantom Ranch (a rustic lodge), and eventually the North Rim of the Grand Canyon.
Tips For Hiking the Bright Angel Trail
Be prepared
For anyone considering hiking the Bright Angel Trail to Indian Garden, you must, must, MUST bring water and enough food to supply you for the 9-mile round-trip hike. The trail is exposed so also be prepared with adequate sun protection.
The danger of this trail lies in its easygoing start. Unlike ascending a mountain where the difficulty is immediately apparent, this hike descends down into a canyon. That means the easy part comes first, fooling hikers into believing they can go farther and longer than they can actually manage in a day.
Arrive at the trailhead before 8am with a hydration day pack full of water and plenty of salty snacks.
Know your water sources
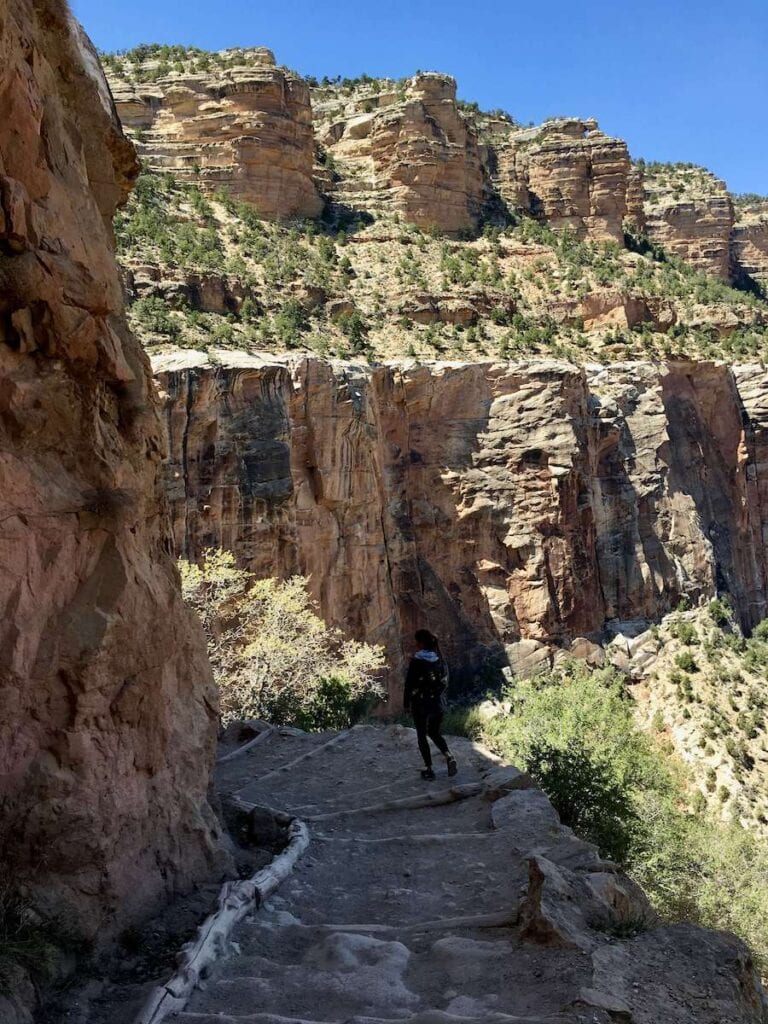
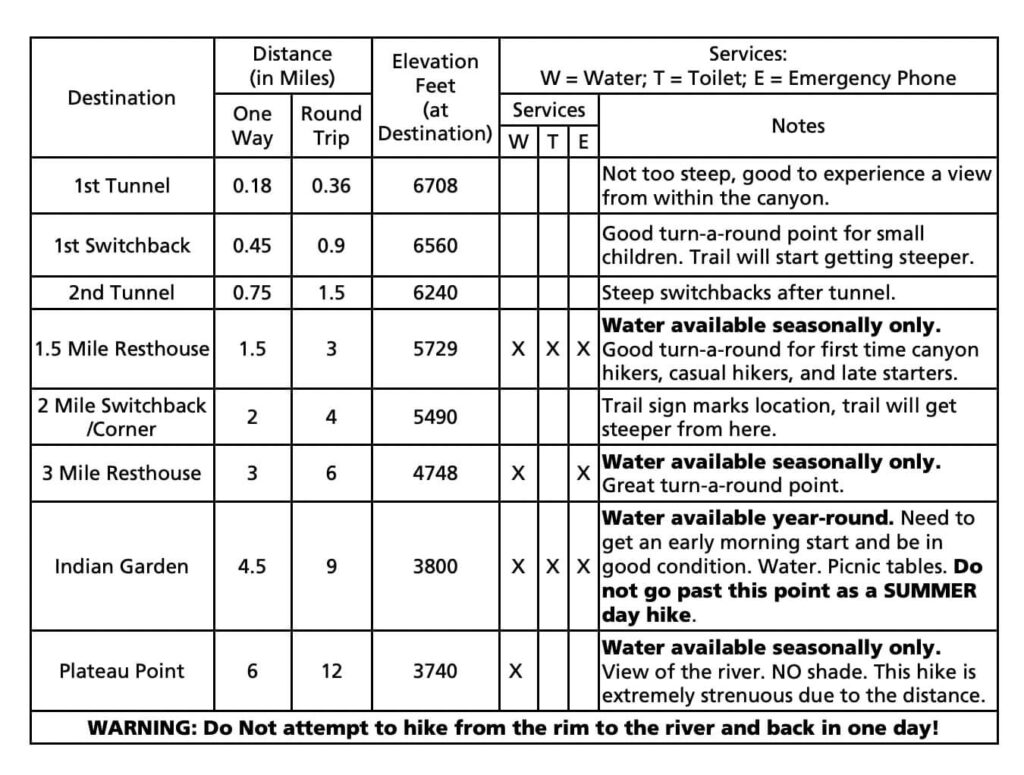
There is always water available at the Bright Angel trailhead. There may be along the trail seasonally from May-September, but water is not always guaranteed. It’s better to come fully prepared with at least 3 liters of water per person. There is a river that runs through Indian Gardens so we also recommend packing a lightweight water filter just in case.
The chart below shows where water may be available seasonally:
Practice good trail etiquette
Please remember that uphill hikers have the right of way.
You also may see mule traffic. If a group of mules is closing in on you, the park service advises you to step off the trail on the uphill side away from the edge, follow the direction of the wrangler, remain quiet and still, and do not return to the trail until the last mule is 50 feet (15 meters) past your position. Essentially, give the mules space, and everyone will be safe and happy.
>> Read next: Trail Etiquette 101

Bright Angel Trail Packing List
For a full list of what to pack, check out our post on Day Hiking Essentials.
The main pieces of gear you’ll want for hiking the Bright Angel Trail include:
- A daypack with a 3L hydration reservoir. If you come off-season, you might consider bringing a water filter just in case potable water isn’t available.
- A sun hat – I always wear the Wallaroo Sedona Hat (BFT readers get 20% off with the code “BEARFOOT20”)
- Plenty of sunscreen
- A buff – soak it in the creek at Indian Garden before hiking back up the trail. It will keep you cool and shield your neck from the sun.
- Lots of snacks – for ideas, check out our post on the best hiking snacks.
- Collapsible trekking poles – these help relieve strain on your knees while you are descending and help distribute the work and your weight on the uphill.
- Solid hiking shoes – I recommend hiking boots with ankle support and a grippy sole to provide additional stability on the steep sections.
Related posts:
Have you hiked the Bright Angel Trail in the Grand Canyon? What was your experience like? What tips would you add? Leave a comment below!
