Products You May Like
The days are getting longer, the sun is getting brighter, and the temperature is getting (slowly) warmer. It’s seed sowing time!
Getting a garden started can be expensive, especially when you buy seedlings from nurseries. A few dollars for each herb, flower, and vegetable you want to enjoy can add up really quickly. Starting your crops from seed yourself is much more cost effective (plus, it’s exciting to watch).
For warm weather crops like tomatoes, eggplants, and peppers, the spring soil is too cool for germination, so they can’t be started outside to begin with. In some regions, there aren’t even enough warm days to go from seed to harvest for certain plants too, so starting indoors gives you a leg up and earlier harvests. Check out the Farmer’s Almanac’s guidance on what seeds can be started indoors, and which prefer being started outside.
Here’s everything you need to know about growing happy, healthy seedlings indoors.
More From EcoWatch
Selecting Seeds
Before getting too mesmerized by the seed selection at your local garden center (yes, we know the feeling), consider a few things before making any purchases.
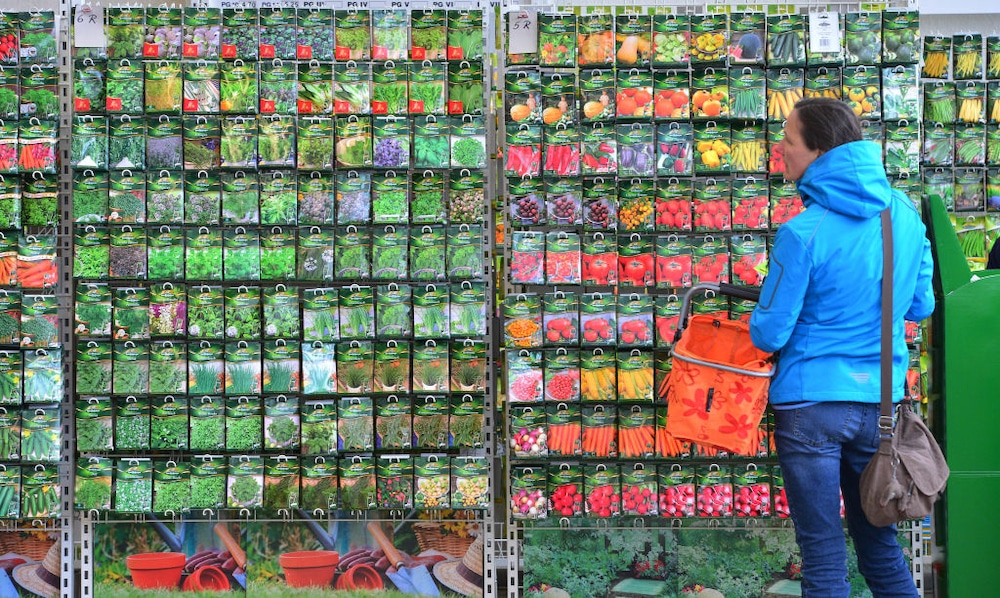
First and foremost, consider the conditions of your garden — like light exposure and soil composition — to determine what plants will thrive in your space. It’s also important to figure out what Hardiness Zone you live in, which is based on the average temperatures of your region. Seed packets will list which zones a given plant can survive in.
It’s also important to be realistic about how much work you’ll be able to put in — don’t overdo it, especially your first year. But know that even if you have a small space — like a fire escape, front porch or balcony — there are still plants you can easily grow in containers, so don’t let that stop you.
Check the date printed on the seed packet before planting; seeds don’t last forever, so you don’t want to use anything that was bought more than two or three years ago. To save them for next year, store the packets in a cool, dry, dark place.
When to Plant
Figuring out the optimal time to plant is perhaps the hardest part of indoor seed starting. Different seeds need different lengths of time indoors before they can be transplanted into an outdoor garden — some as short as 2 or 3 weeks, some as long as 10 weeks. Additionally, not all seeds want to be started inside either (although, most vegetables and many flowers can be).
First, find out the estimated last frost date in your region. The seed packet will indicate how many weeks before the last frost date they should be started, so count backwards from that date and plan to start your seeds then. Look at local gardening resources as well for tips from seasoned growers in your region; they might offer further tips about the likelihood of freak snow and frost events late in the season, and recommend an even later planting date. Optimal planting dates will be different for different plants, so your seed starting might be somewhat staggered.
Supplies and Setup
Seed Trays
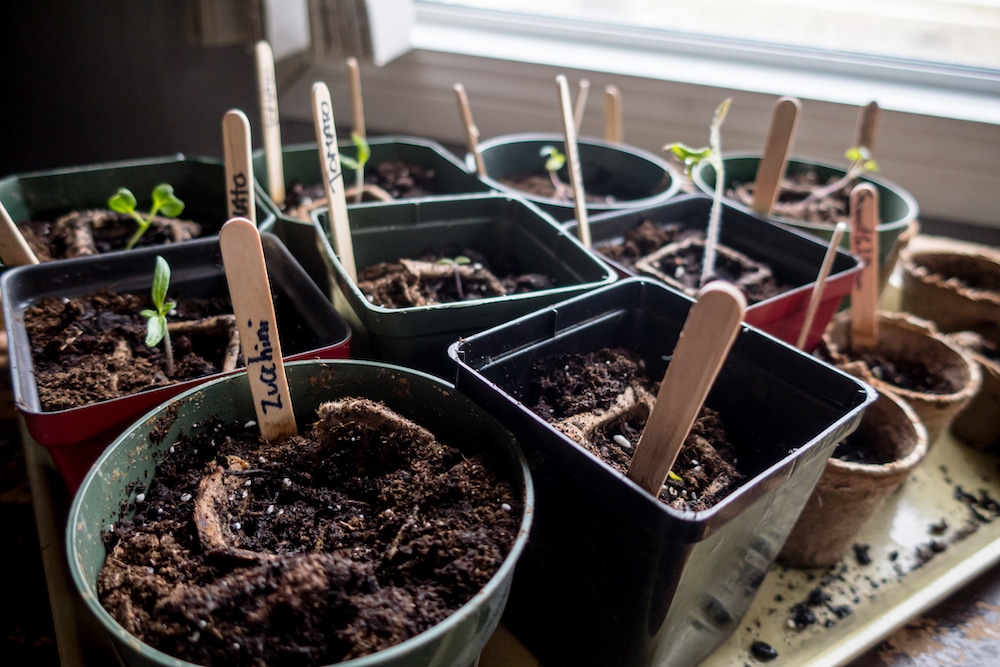
For tiny, tiny seeds like mint and basil, you can put multiple seeds all together in a larger pot, but in most cases, seeds should be planted in small, individual containers. Garden centers carry long trays with rows of individual cells, one for each seed — but you can use whatever you have: extra small pots you have laying around, old yogurt containers and tupperware, or plastic egg cartons. Just poke some little holes in the bottom for excess moisture to escape. Seed trays usually come with a cover that fits over the tray and acts like a greenhouse to trap in moisture, but any transparent container, plastic wrap, or bag will do the trick too.
Growing Medium
Choosing a growing medium is a little more complicated than throwing some soil into a pot. Ordinary potting soil is fine for some plants, but most prefer a porous seed starting mix. These mixes usually contain things like coconut coir, perlite, rice hulls, sphagnum peat moss, and vermiculite, which create a lighter, finer soil that is better for the tiny seeds and helps prevent fungal problems. Some mixes also include things like compost or other fertilizers to aid in growth, but seed starting mixes are generally low in nutrients. A homemade or store bought mix is fine, but don’t use soil from outside — it might carry pests or diseases, and is probably too heavy and compact for the seeds to grow.
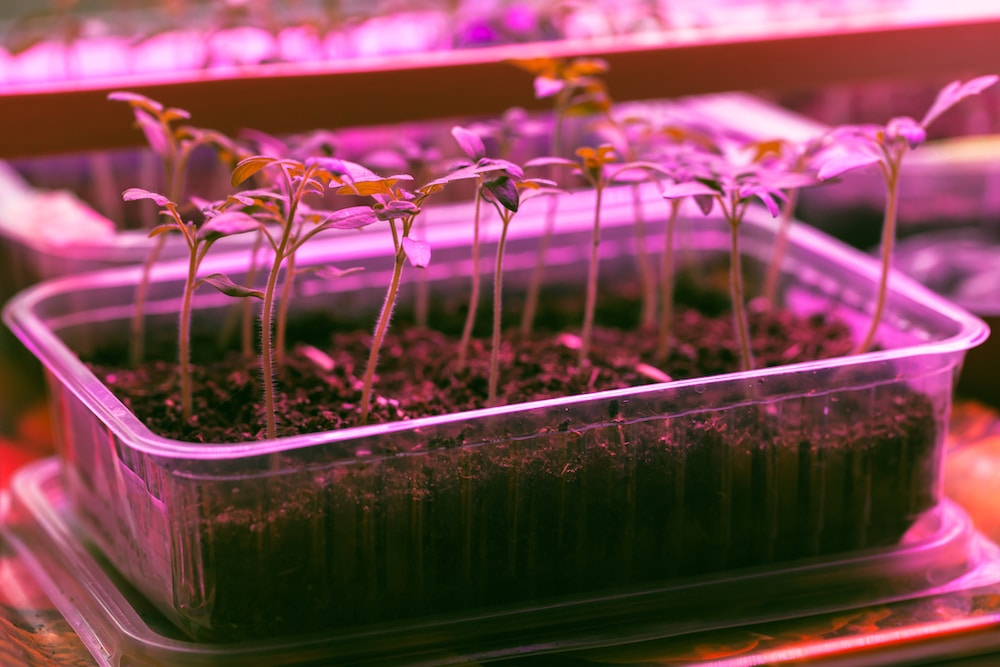
Light
Even in a south facing window, it’s likely that the seedlings won’t get enough hours of light. Any LED or fluorescent grow light that’s “full spectrum” — meaning that it acts like the sun producing light in the full range of visual spectrum — works, and should be suspended about 2-3 inches above the seedlings. Pretty much all seeds want light, although some prefer more darkness than others. Check the packet to make sure you’re giving the plants the amount of light they need to thrive.
Temperature
Your basement probably isn’t as hot as a warm, summer garden, but if you can keep the area around 65-70º, the seeds should be just fine. Remember if you don’t have a spot in your house that’s that warm, they’ll get some heat from the light, and the trapped moisture will provide a humid environment.
Some warm season crops need higher temperatures to germinate, in which case you can consider a heat mat to place underneath your seed trays. This isn’t always necessary, but it’s a good option if the place you’re keeping the seeds is exceptionally cold. Alternatively, just place the trays somewhere in the house that’s already warm, like the top of the refrigerator.
Planting Seeds
Once you know the light and temperature needs of your crops, it’s time to start planting.
First, you’ll need to dampen the seed starting mixture. Mix the soil with water until it’s the consistency of a wrung-out sponge: damp, but not wet. Distribute the soil into containers, tamping it down a little, but not packing it so much that it loses its fluffy, aerated structure.
Check the seed packets for additional instructions; some need to be soaked or chilled for a period before being planted, although this isn’t common.
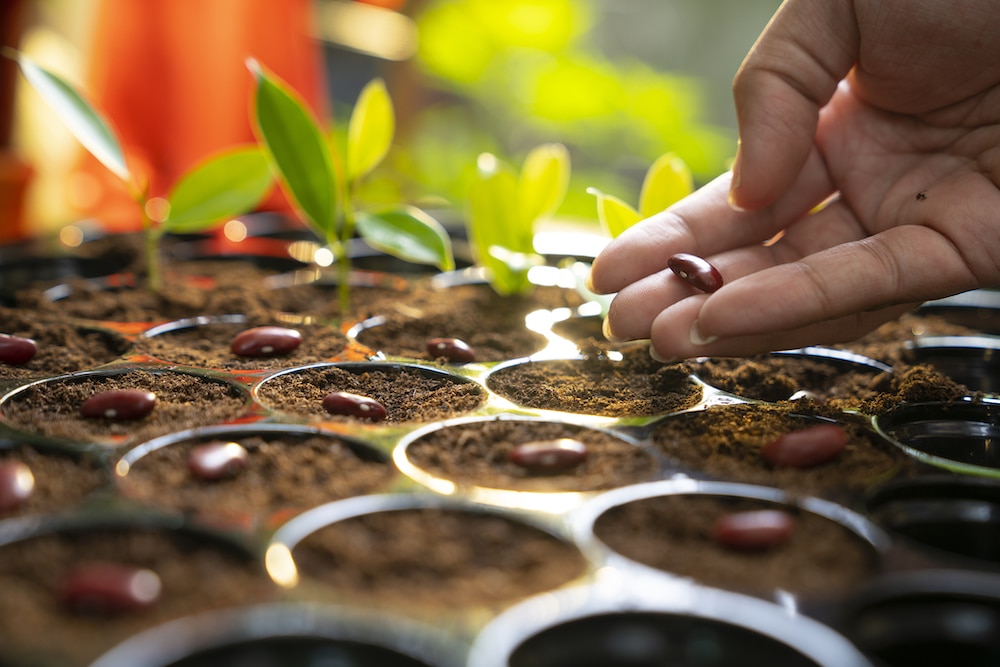
One seed should be planted in each cell (or “plug”) although you can do multiple if you want to be safe and ensure that the seeds take — just know that if multiple sprout in one cell, you’ll have to remove the others. Poke a hole with your finger or the eraser end of a pencil at depth specified on the packet, which ranges widely: some seeds want 1-2 inches, some ½ of an inch, and some as little as ⅛ of an inch. The tiniest seeds should just be pressed into the surface of the soil, without being covered at all. Generally, the smaller the seed, the closer to the surface it should be. Cover the deeper planted seeds with a little soil. When in doubt, plant a few more seeds than you need. If you want three basil plants, plant four or five in case some don’t take — you can always give them away!
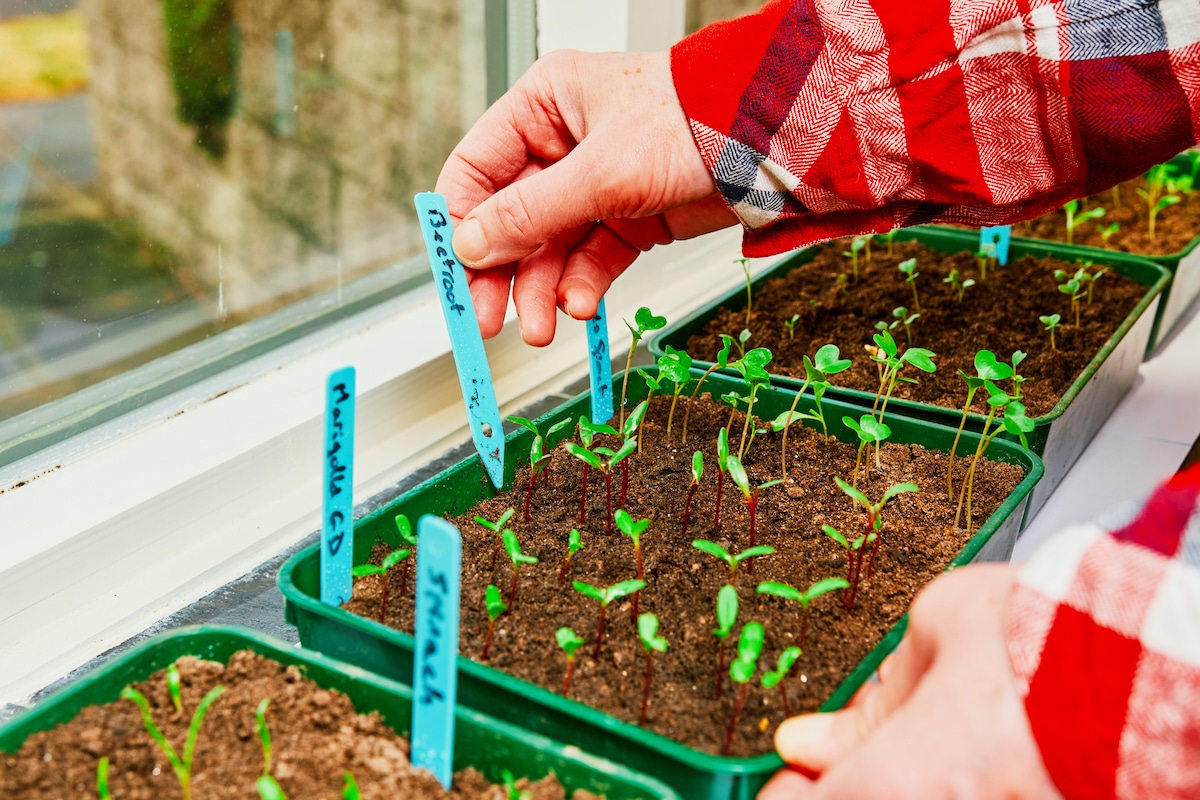
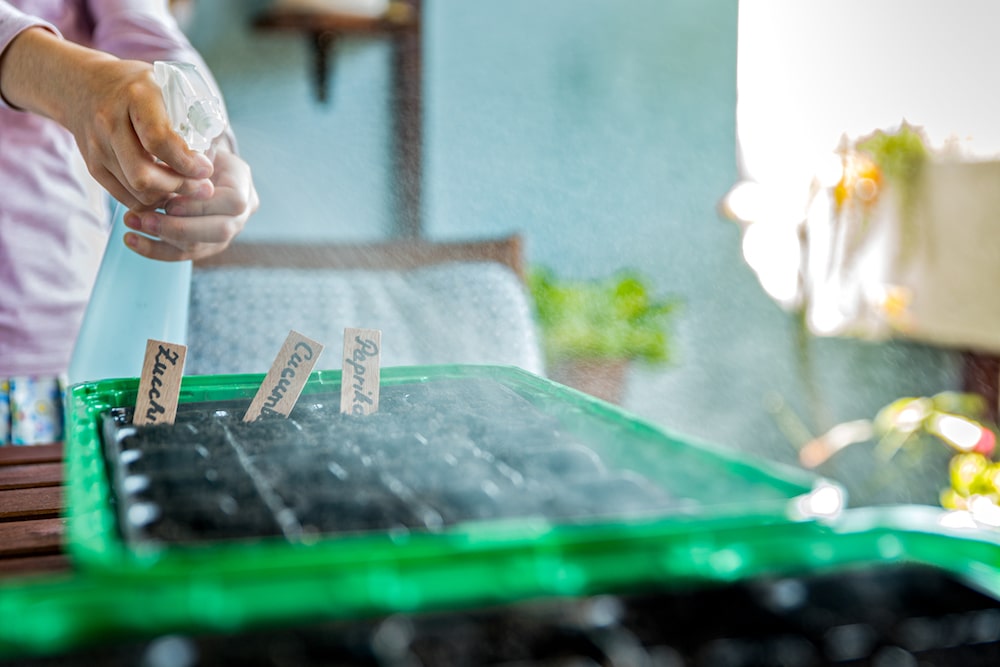
After you plant, label each cell (or cluster of them) so you know what seeds to expect — you don’t want to lose track of what things are! Use popsicle sticks or seed labels to write the names in permanent marker so it doesn’t run when you mist the seeds.
Daily Care
There are three main considerations in daily seed care: temperature, light, and water/humidity. It seems long, but the seeds need at least 12-16 hours of artificial sunlight a day — so pretty much the entire day. Spray the trays with a mister (watering cans send out a forceful stream that could dislodge the seeds) at least once a day to keep the soil wet but not damp. Soaking soil could lead to fungal diseases that quickly kill off young plants. You can also bottom water the plants by pouring a little water into a container underneath the trays, and the seedlings will soak up water from below. However you choose to water, the transparent tray covers will help hold in heat and moisture all day long.
Caring for Larger Seedlings
Pretty soon, you’ll see tiny leaves unfurling from the soil. These are the “
If you planted multiple seeds in a cell and several take, you’ll need to “cull” the seeds, sacrificing the smaller ones so resources can be allocated to only one plant. Cut them down with a pair of scissors or garden shears rather than pulling them up out of the soil, which can damage the roots.
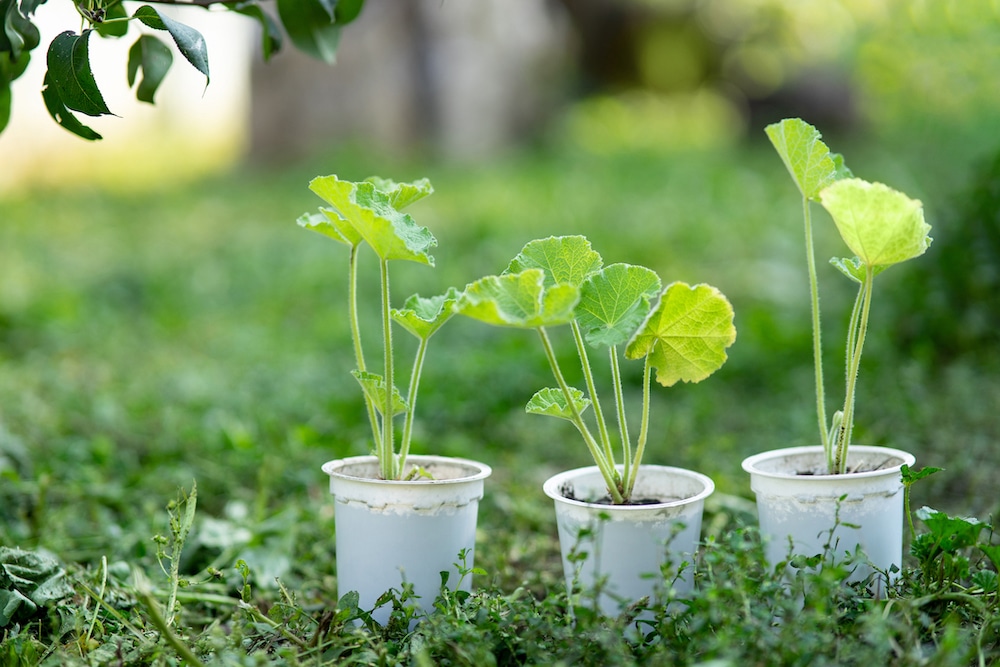
The seedlings might need to be “potted up” eventually — that is, moved into larger pots once they’re too big for their cells, but aren’t ready (either because of their size or weather conditions) to move outdoors. Move the seedlings into pots about 3-4 inches wider. You can use potting soil for these now, rather than the seed starting mix. Don’t wait too long before potting up; the seedlings will struggle without proper space and get weaker or leggy.
Hardening Off Seedlings
When the seedlings are almost ready to go into the garden, they need to be prepared for the wind, and harsher temperatures of the outdoors — a process called “hardening.” Move the seed trays outdoors to a shady spot for one hour, increasing the time by an hour every day over a period of 1-2 weeks. Eventually, they’ll be able to withstand the direct sunlight, and can be left out overnight, as long as the temperature doesn’t fall below 50 degrees. By the end of the process, they’ll be acclimated to the outdoor conditions and won’t be shocked when put outside.
Transplanting
Once the seedlings are large, sturdy, and well acclimated, they’re ready to go in the garden! Try to transplant at a time that isn’t especially hot — ideally a cloudy day or late in the afternoon. The seedlings might wilt initially, but they should perk up in a day or two. Using row covers can help protect them for the first few days while they’re adjusting to the outdoors, but they aren’t vital.